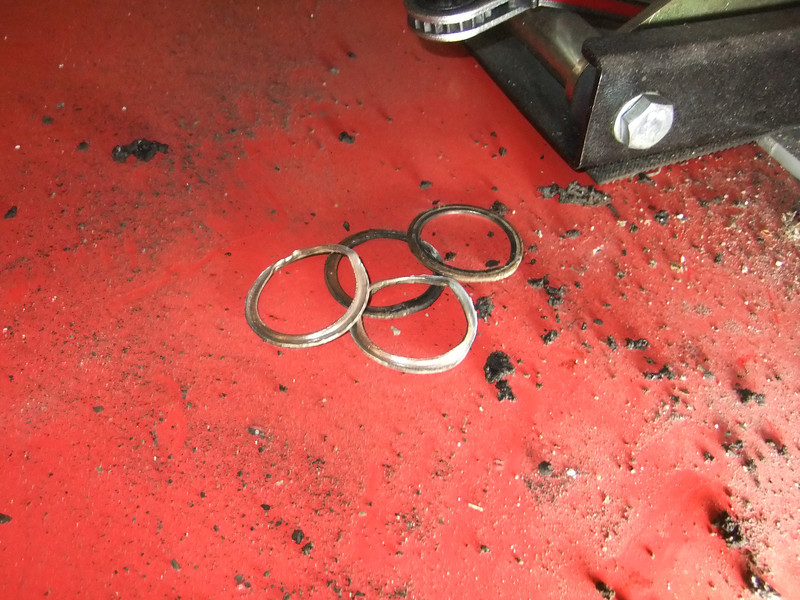
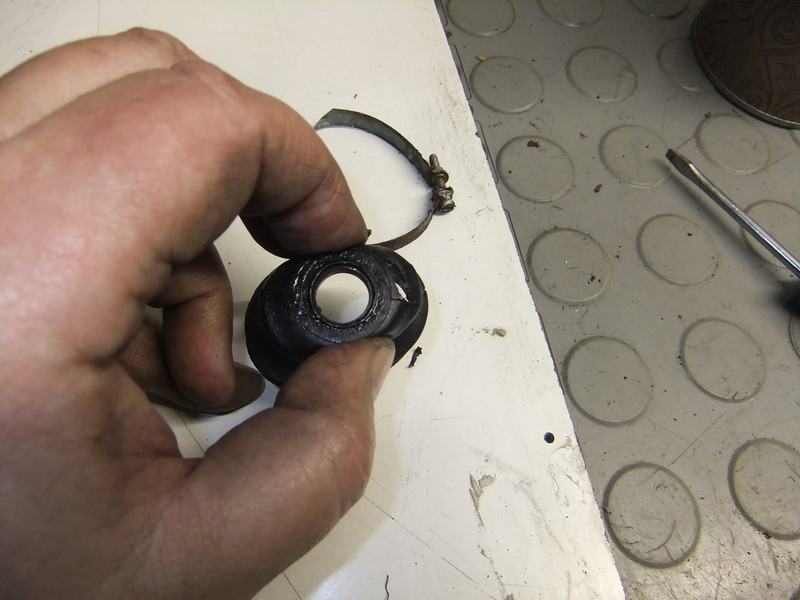
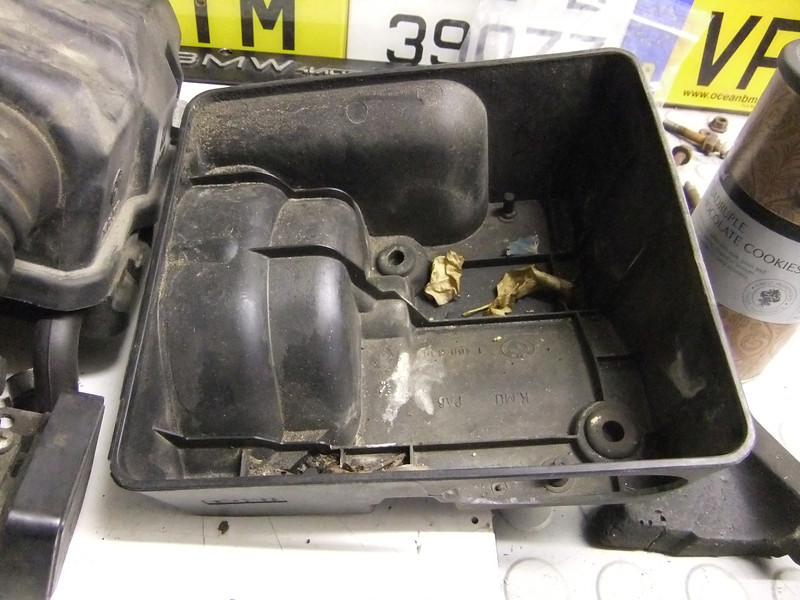
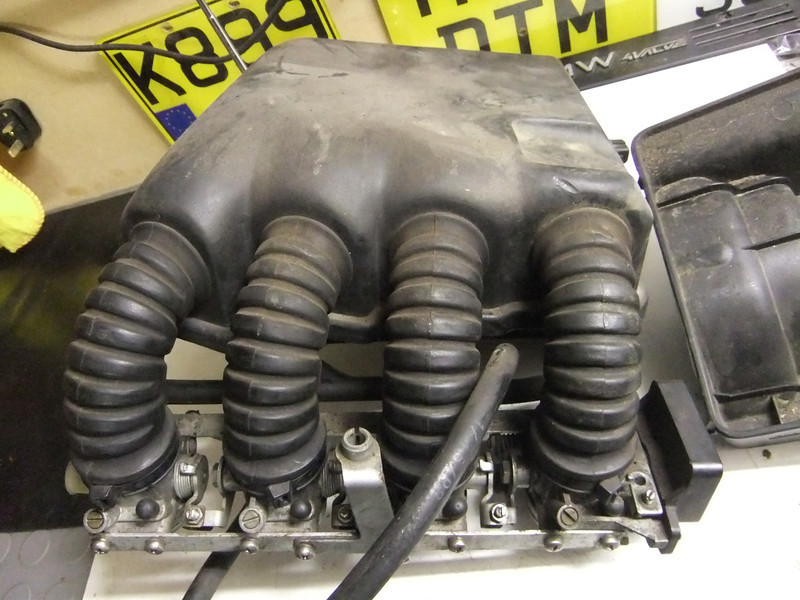
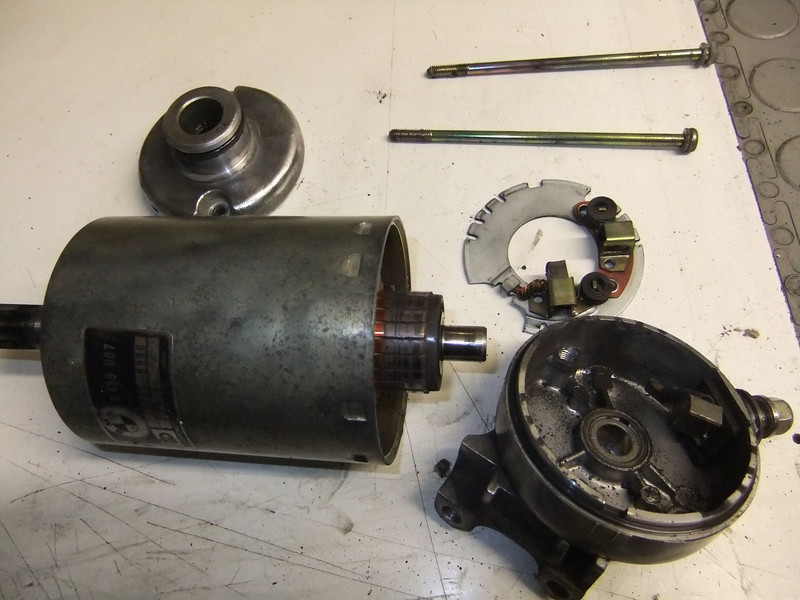
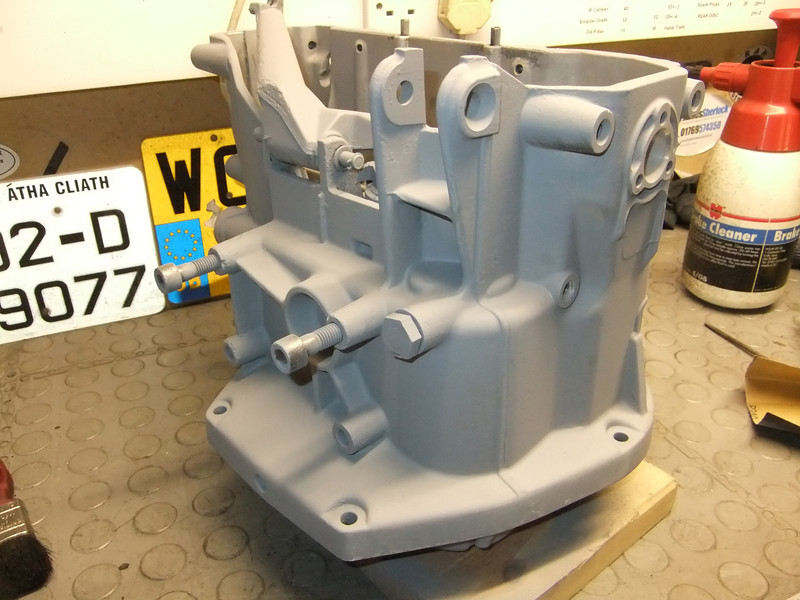
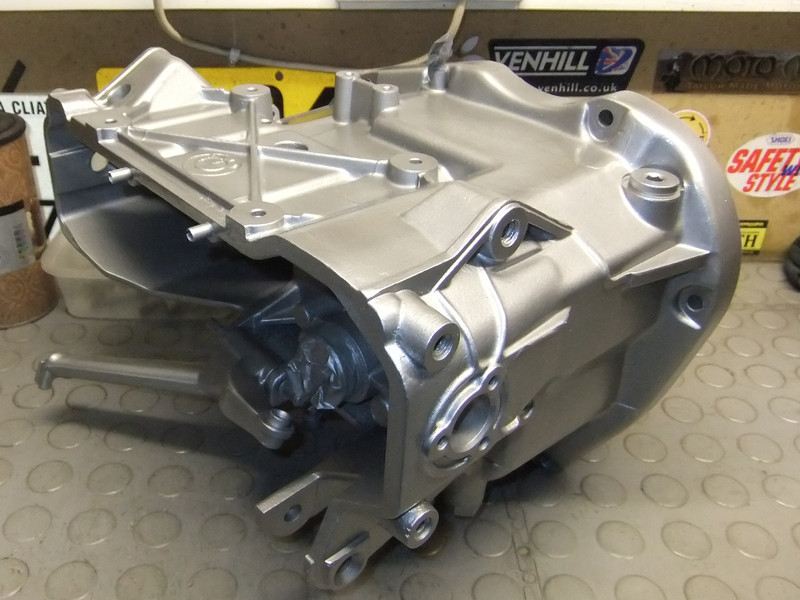
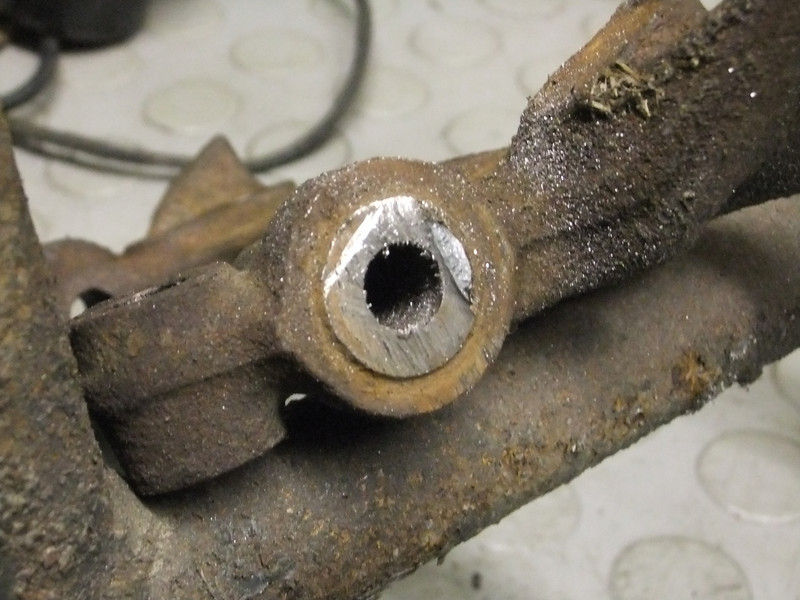
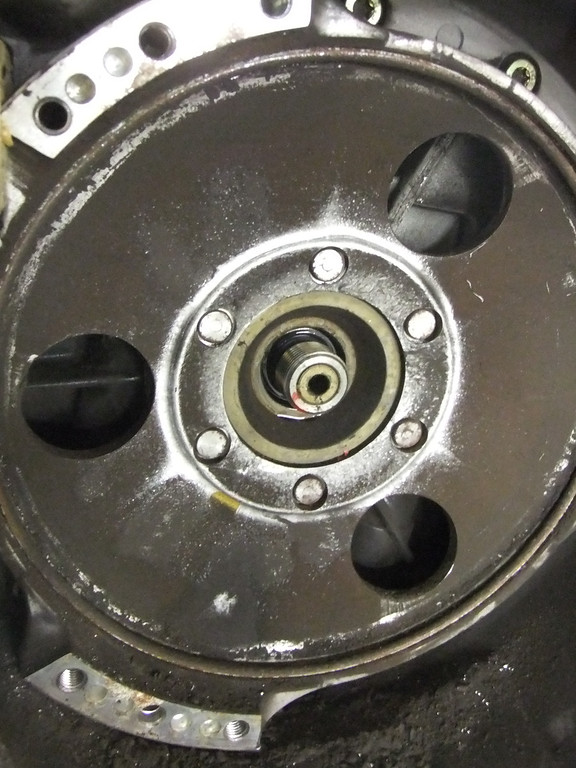
Paul, it should do the trick. The 1100 ones have a large metal washer between them and the casing. It made removing them much easier than I anticipated (I still covered them with Aluslip (as in the photo) just to be sure.
This is the low point in these jobs, endless rubbing, scraping, brushing etc. It's tedious and mind-numbing with very little to show for all the effort.
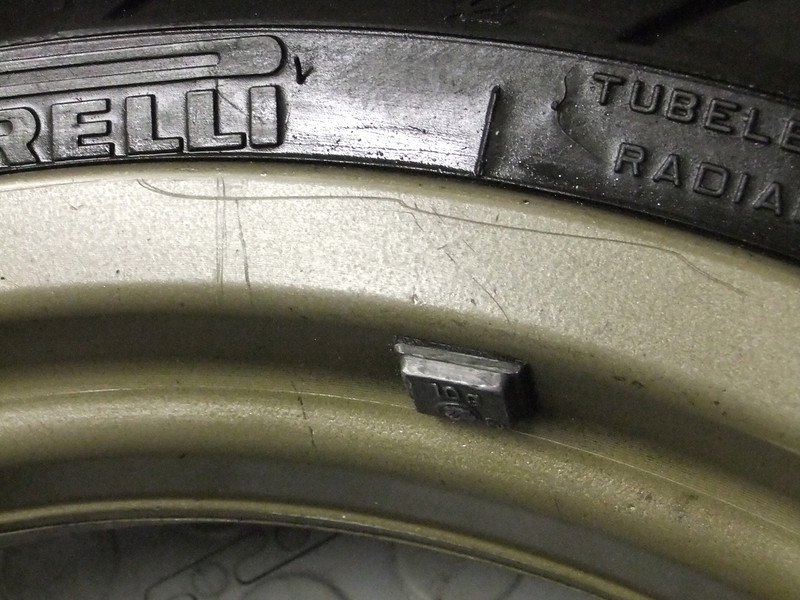
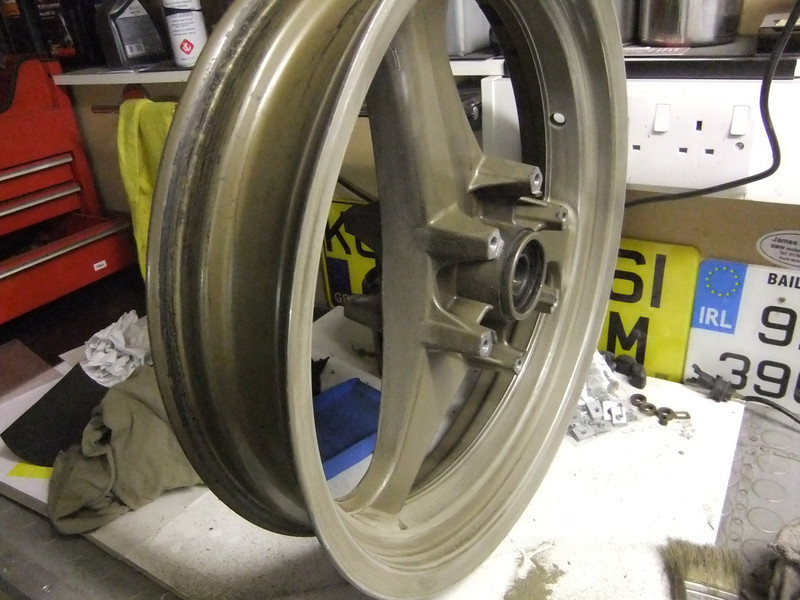
The wheels, once the dirt is removed, need more work than first appeared. I began by removing the accumulated rubber and lubricant from the rims:


Then there's nothing for it but hours (literally) of rubbing down by hand. I used 80 grit paper dry to begin with. This really coarse grit cuts through the paint without too much effort. You have to be careful not to use too much pressure or it will leave deep cuts inn something as soft as aluminium.
The rear wheel has the classic signs of someone having tried to get it out past the ABS sensor ring on the disc (and a nice deep graze):

To save the skin on my fingertips and to make it easier to get into the nooks, I square the ends of an ice-lolly stick (always worth keeping some in the garage as they have many uses), wrap the paper around it and this lets you get into the corners etc:

When the paper loses its effect just slide the paper to the other end of the stick:

Here's another tip, begin with the most difficult areas. That way when you're tired and pissed-off rubbing down, by the time you've got to the easier bits it's not such a grind:

The pitting where the paint has chipped becomes more visible with the rubbing down:

Eventually the first rubbing down is done:

Then its more rubbing down, this time with 400 grit paper used wet (add a little soap to the water and the paper will be less prone to clogging).
Once all the surfaces have been dried and wiped clean (tissue paper and thinners), the first primer coat can go on. I started by getting the primer into the awkward places and allowing it to dry before doing the rest:

A light first coat followed:

Then some hours later a second heavier primer coat. This was then flatted with 1200 grit paper dry. I prefer to use it dry as primer is porous.
Then the first light colour coat can go on once the surface has been cleaned of any dust etc. The same method, start in the recesses, let that dry and then do the whole thing:

Once the first colour coat is cured, rubbed down again (this time wet), dried off I can see some of the pitting is still visible:


Any blemishes are much easier to spot once the colour coat is on and they can be addressed with a combination of more rubbing down and stopper.
Then another colour coat (thin) as a guide coat to show up imperfections. That's the current position; both wheels are currently sitting with the imperfections filled. Once it has bonded fully I'll go back to rubbing down again.
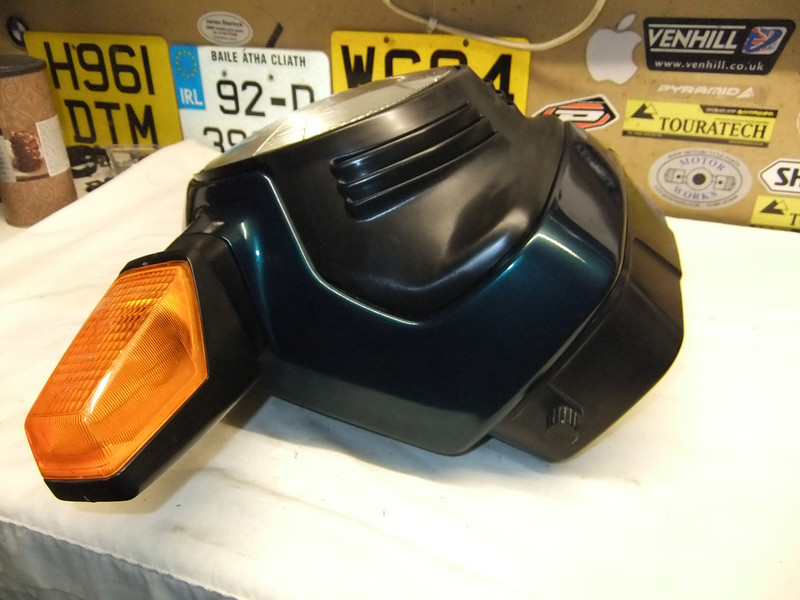
I've said it before, the least attractive aspect of the K-Series Brick is the water/oil pump and sump. BMW addressed this on some bikes by enclosing the area in the fairing. With the K100RS SE and the K100RS 16 valve they offered a bellypan (at not inconsiderable cost).
They don't often come up for sale and when they do the prices reflect their relative scarcity. Often the mounting frame has rotted away because it's out of sight and out of mind. Both are still available new from BMW and at least one other source but not cheap.
Recently I made an offer on one (unreasonably priced) on ebay (offer declined but more than it's currently been re-listed at), missed one that went at a reasonable price, then last week spotted one that included the mounting frame and had a start made on preparation. I snapped it up for a decent price. When it arrived I was pleasantly surprised to see that it included a sump cover too!

The frame has been cleaned and powder coated after a small repair in one corner:

I don't know if I trust what's been done before it was powder coated. I may strip it and see for myself.
The bellypan itself didn't look bad but primer can cover a multitude of sins (it wasn't done particularly well either) so I've begun rubbing it down (more rubbing down! I'm tempted to go and do a few burglaries as I have no fingerprints at present).


Before rubbing it down, I had to do something about the mesh grille. On these it's bonded in with some kind of mastic 'sticky'. The mesh has been over-painted with the primer but it's obviously corroded underneath. I warmed the mastic and hacked it away:


Then removed the remaining 'sticky' from the aperture:

I can either re-bond the grille in place once it's been cleaned and painted or I can use castle-nut clips and stainless button-head screws through body of the bellypan:

It will need some tabs to extend the mesh at the fixing points or if I can persuade him, Mark (of Cymarc) may be able to produce an alternative with the extensions for the castle-nut clips in place.
So, on with the rubbing down of the primer. Sure enough there are some areas that need a skim of stopper:


I'm in the process of stoppering the gouges and scratches.
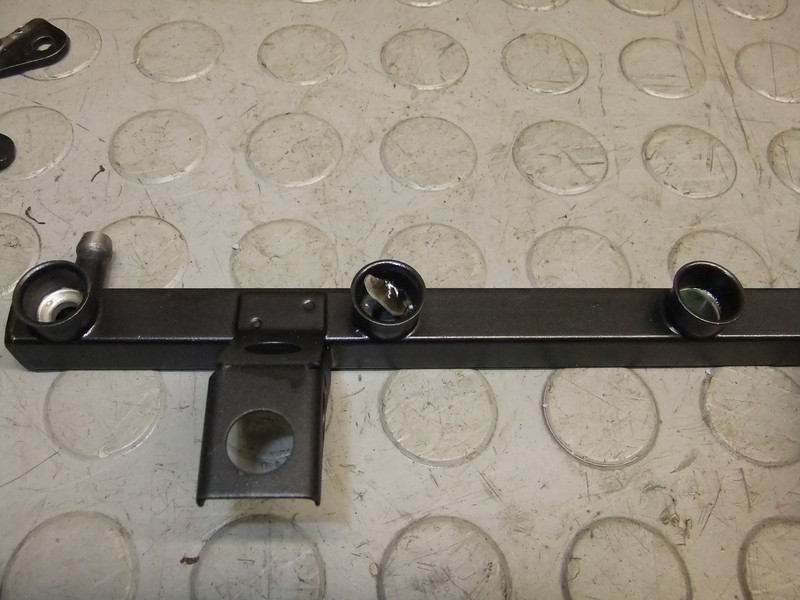
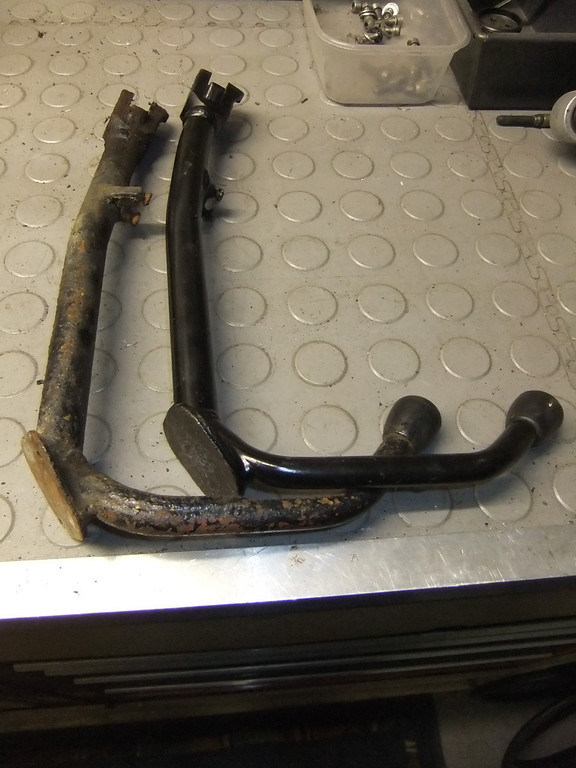
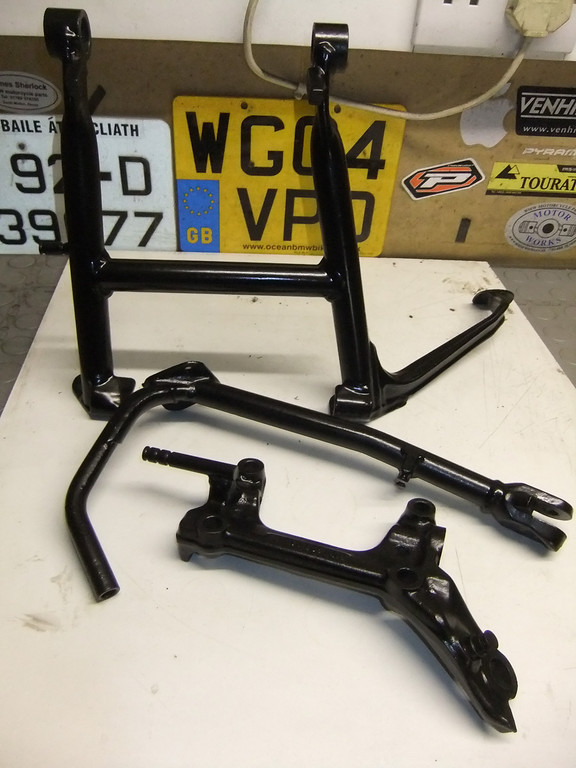
That's about it for now. I won't bore you with the cleaning of the little bits of various brackets. These and the injector rail will get a coat of black paint before long.


 Re: Will I Never Learn? Sun Sep 29, 2013 10:51 am


