If you recall, I had some trouble getting the ignition trigger assembly off because there was a bit of corrosion under the cover. So I had to get rid of the rust before I could reassemble it.

Then all the front cover screw threads got a clean:

Pressed in a new seal on the timing chain cover:

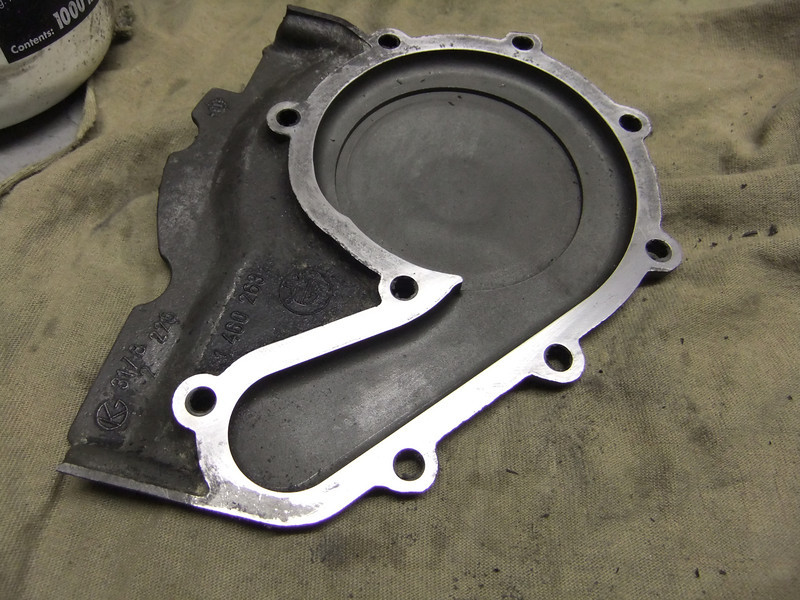
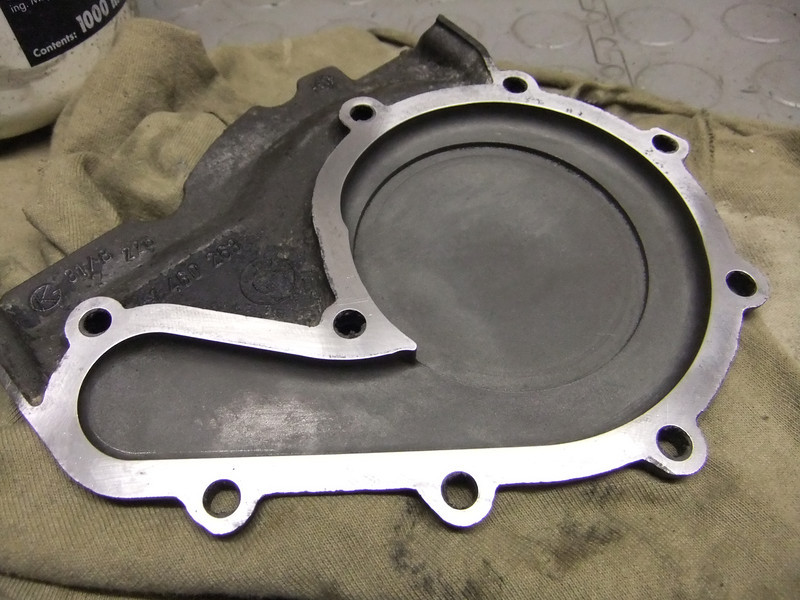
Then made certain that the mating surfaces of the timing chain and water pump covers were good and clean - before:

After:

Then, remembering to pass the temperature sender and gauge wires through the timing chain cover (I'll admit to forgetting to do so once and spent ages trying to feed them through with the cover in place), the mating surfaces were given a squirt of Thee Bond clear sealer and all the cover retaining screw threads had a dob of Ali-Slip anti-seize as the new screws are all stainless:

With the cover re-fitted it was time to un-bag the ignition trigger parts:

The locating dowel means that the plate can only go on in one position but it's possible to put it in back-to-front hence the Sharpie reminder:


The hall sensor can then go back. The spacer washers that have a slice out of them need to be aligned, it can be fiddly:


A new cork gasket under the HES cover completes the job:

I made the mistake once of trying to use the minimum amount of sealer on the front covers. The result was an oil weep that could only be fixed by removing the covers and doing it all again. Now I pipe on a goodly amount and prefer to see the excess extruded as it confirms that the sealer has done its job. The excess is easily trimmed off after twenty-four hours.
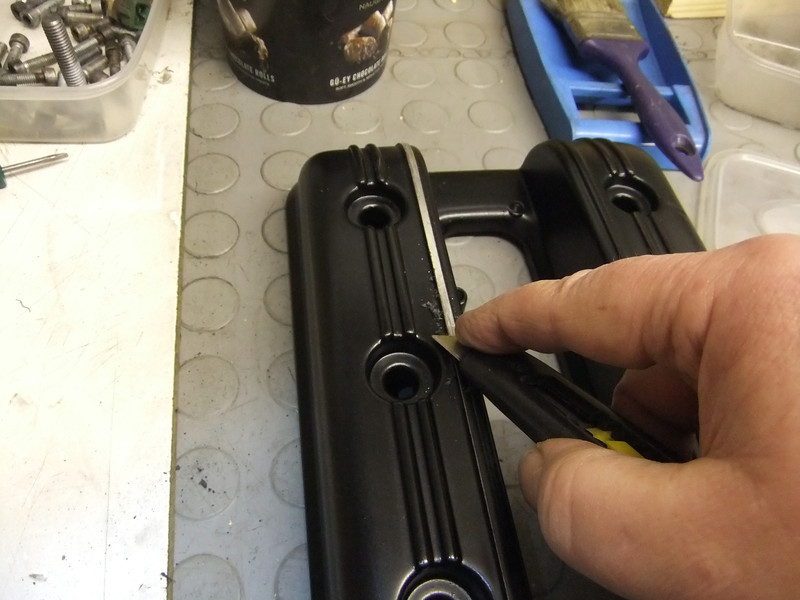
I've still got some work to do on the crank and cam covers. Instead of masking the bare aluminium 'highlights', this time I polished them to get a good finish then painted over them. Now that they're fully cured, I used the back of a knife drawn over it to remove the paint:

Then all it needs is a light rub with a fine sand block:

It's less work than masking but it does need care not to mark the paint on the cover.
I didn't fancy replacing all of the cover screws which were a bit scruffy:

First job was to separate the rubbers, clean them and then give them a healthy dose of the rubber 'food'. Once done I put them on a radiator for a few days to help the Gummi Pflege be absorbed.

Then I wire brushed the screws to remove the rust and degreased them ready for a coat of enamel, heat resistant ali paint:


Then the rubbers slipped nicely back on:

That'll do for now.


 Re: Will I Never Learn? Fri Feb 14, 2014 1:24 pm
 . Something else to fix now.


 .
.


 K1 Black 1993 60K Km


