workshop day up in kingaroy
did water pump and throttle body rubbers
wow interesting experience both refurbishments
for some no biggie but the water pump refurbishment was an interesting excersize ...firstly , because i have a pre 86 version i wasnt quite sure what would await me as far as impellers and drive shaft ...seems natural to assume that i had the old type of threaded section projecting out of the pump drive gears rather than the socketed version ...yep indeed this was so ...
upon opening the housing cover plate ..it all looked ok ...right first to get the nut off .....doink ..yep it came off ok ...nut and threaded shaft spun right off ...without more than a 1/4 turn . the shaft had corroded right through ...by what looked like a fracture in the metal , and now corroded entirely ..all but about a sixtenth of an inch square of metal in the centre core ...bugga


what to do ?
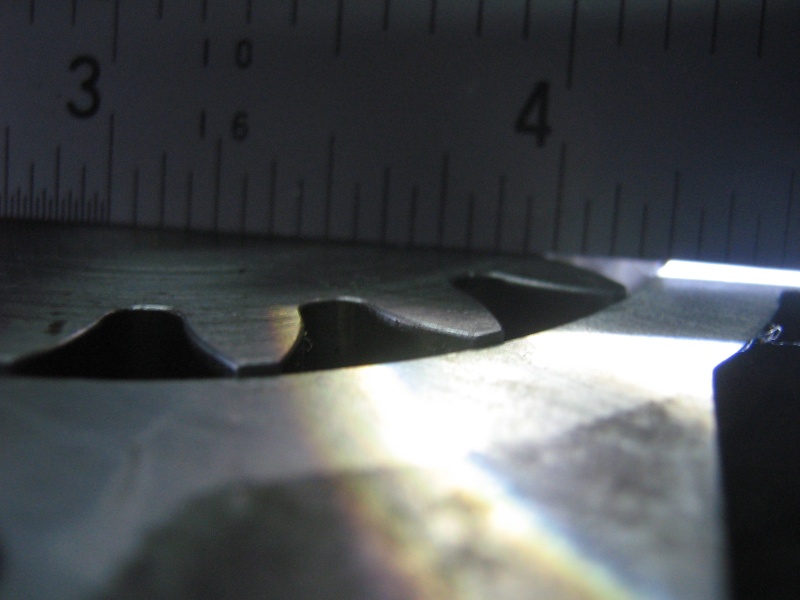
fortunatly "alby" our mate had dissassembled a couple of water pumps from old engines and stuff previously and had a more recent type of shaft assembly for use ....it looked good . with some typical wear and corrosion divots around the seal areas ...so i linished it up some and finished with not a bad result ...the main wear marks for the oil pump seal being the most relevant area i worked on to rid it of a quite sharp groove through the seal area ...turned out ok

i pulled all the parts and dissassembled the seals out of the housing ....wow what a complex water seal ...of a bout 3 distinct rubbery sections ...all quite easy but complicated to work out of the seal portal ...without causing any damage .
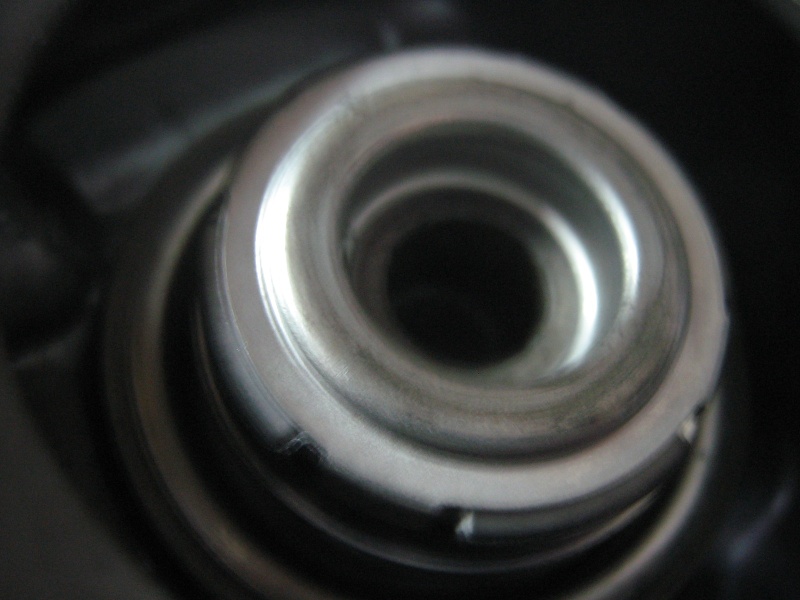
good observing skills were required to clean it all out properly ...and i can show you what it is supposed to look like when cleaned up

there should be 3 distinct areas along the recess for housing of the seals the oil seal ar the deepest section ...dome side out ....the "void" path - breather area had been blocked by coagulation of decrepid rubber and dirt ...and was quite difficult to clean out fully , but with a 2.5 mm drill and some brazing rod and degreaser ..it all cleared out pretty well
use a 16 mm nut socket for instalation of the oil seal, it fitts up nicely to the edges of the seal and allows presuring it in without drama .
the "new water seal " provided a fear factor of ruining it (after reading many posts on the subject ) but with the right nut socket of 27mm which fitted nicely around the circumference (without binding on anything else ) i punched it in to its home location ...besides advice from everybody else about working it in with the nut draw principle .. this was important ..because once the assembly is "home " the next process of drawing the shaft throught the seal was made far more easily than anticipated


almost there
using the new impeller adaptor allowed final draw of the shaft to the home position with only about less than a millameter of gear drive at the rear of the housing , but importanly , the right load on the front part of the ceramic water seal


finally the impeller went on ...looks to me about 1.5mm of clearance ...but a good fit in the end

i had made use of albys fantastic ultrasonic bath and it allowed for complete removal of old cruddy paint ...and dirt from the internal recesses ....a scotchbright pad was used for cleaning up the seal faces within the housing ..and a good layer of fresh paint covered the pump cover and housing external bits ..
the housing faces i worked on methodically to acheive a clean surface for housing to engine and housing to cover plate ..
i had used the old flat piece of timber and wet and dry to acheive this before any seals came near the housing parts /.and a good rinse afterwards to remove any left over granules of abrasive product

"drei bond" sealant was used varry sparingly on both sides of the mating surfaces with about 10 minutes to let it go "off" before face to face contact was applied .
i left the housing torqued up but dry overnight to allow it to cure .
next day ...water was added ...woohoo no leaks ...and later in the day a start process was achieved after doing the throttle body rubbers .
i ran the engine to temperature and then went for a ride around the block to prove the system under load ...
a good result and after another 200 killometer ride home ...im pleased to say it all works well


 Re: 85 rt resto ...my attempt ...hey im not into making a show bike ... Fri Mar 16, 2012 8:25 pm


 i recently monitored my altenator charge voltage after reading of "cols" thread about his charge light indicator and found mine to be exactly the same .


 1986 k75, 1985 K100rt,


 that link is a good calculator for leds currents and current limit resistors


