I found this article on the IBMWR web site:
Headlight (Hi-Lo) Switch Repair
By Don Eilenberger
April 1998
Folks - I know we've beaten it almost to death, butt - a few notes on an experiment I performed this weekend on my K100RT ('85).
As some may remember, I was running an 80/100 bulb in the K in the attempt to get more light where I need it.
I recently removed the 80/100 and found the inside of the envelope (bulb) had deposits on it - indicating to me that it was running at a lower voltage than designed for (halogen bulbs are designed to run so hot that the normal filament deposits are evaporated off the inside of the envelope back onto the filament).
Another thing I'd noticed lately is that my hi-low switch was developing a dead spot when switching from high to low or low to high. It also was stiffer to use than I'd remembered.
Figuring the switch was about to do a meltdown, I decided I had nothing much to loose by taking it apart and looking to see if I could find what was wrong. Or starting to go wrong.
CAVEATS: Don't do this in the driveway (BTDT-WDIA). Don't do it if you're a klutz with tiny parts. Don't do it if your switch is OK - it might not be when you're done.
I unscrewed the switch from the handgrip (while parked in the driveway), unclipped the tie-wraps holding the cable in place, and put it up on my tankbag for dissection.
There are LOTS of little phillips (+) screws holding things together in the light switch. So I grabbed my magnetic parts holder thingie, and put it on the tankbag next to the switch.
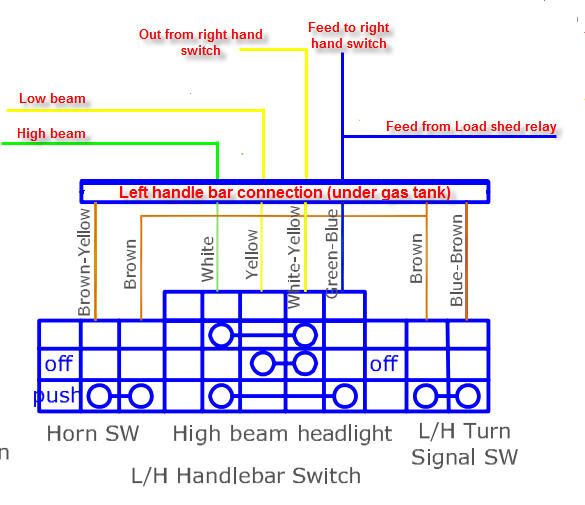
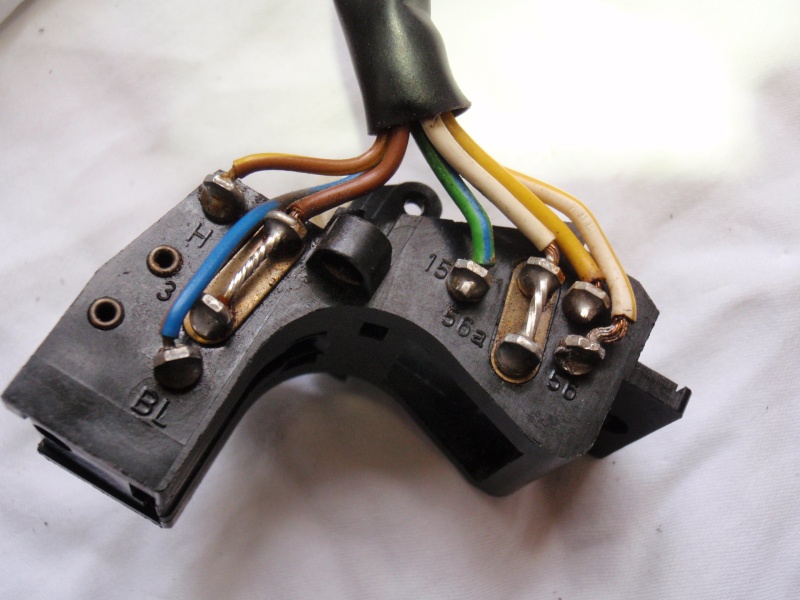
It became obvious to me - that to take the actual switch outta the housing, first the plastic plate holding the wires in place gotta be removed (three screws - one of a different length). And then the horn and turn signal buttons gotta come off (more little screws).
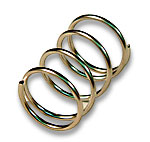
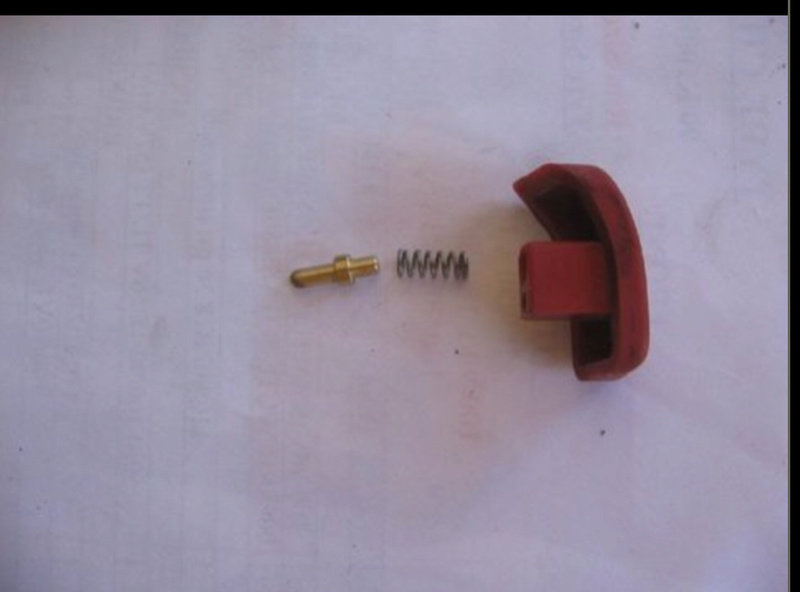
CAVEAT: The horn button has behind it - a tiny spring AND a funny brass piece - which is not magnetic - and WILL jump right outta there onto the driveway (BTDT). Takes a while to find (BTDT), and the horn button only will work if it's put back in (BTDT) the right way (BTDT). IF not installed, or not installed the right way - you have a permanent ON horn button (BTDT) which will annoy the neighbors as soon as you turn the ignition on (BTDT).
After removal of these two buttons, and 3 more screws (again, different length screws) - you can remove the switch from the housing and examine it.
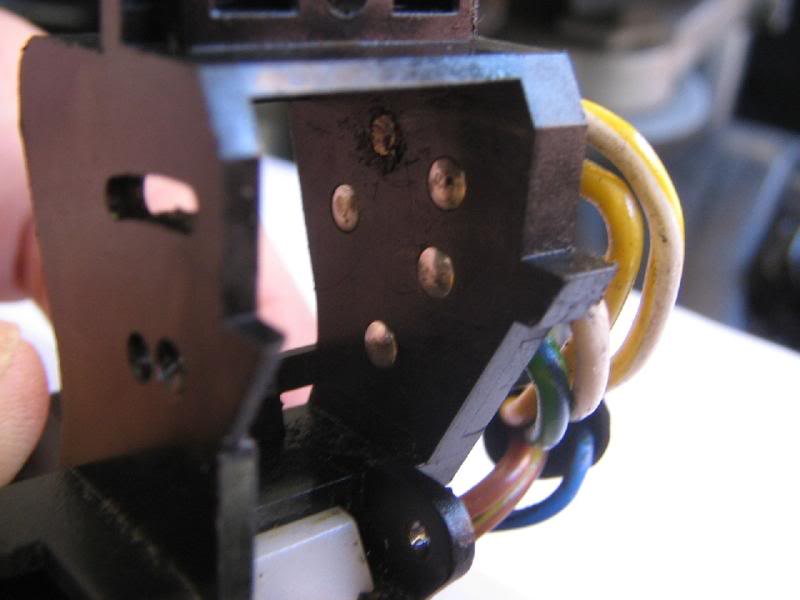
Mine didn't look 'bad' - but operating it - I could see the contacts which switch the hi/lo. And they were gunked up with dirt. Black sorta dirt.
I used some flammable/carcinogenic/bad-stuff electrical cleaner on the end of a rag with a tiny screwdriver inside it to clean them. I found it necessary to operate the switch lots of times before they started staying clean.
Note - they are barely visible when you switch the switch, but if you look REAL closely - you can see them - they're little round lumps that a wiper assembly rubs over.
This - I hoped - would clear up the dead spot, butt the switch itself was still stiff to operate.
I looked some more, and found that there are two tiny ball-bearings that are prolly spring loaded, which move in/out of several holes and a slot. These provide the detent for hi/lo, and the spring loaded return for the hi-beam flash function.
I tried spritzing (tech-term) some WD-40 on these - with little effect. So I got out my moly-lube (left over from spline stuff), and poked some into the holes with a toothpick as I operated the switch back and forth.
I also lubricated the contact area with a non-greasy lubricant (LPS) made for this sort of application (at least it sez so on the can).
Much smoother now.
Reassembly went OK, until I started looking for the brass piece for the horn button (which I found in a rag I used to protect the tank), and until the tiny - special - screw holding the horn button went flying. Finally found a replacement for it down in my cellar junk-screw-bin. (It is a VERY special screw - don't lose it!).
Turned the ignition on and found:
No dead spot
Regular (55/60) headlight bulb appeared brighter than the 80/100 had
Much smoother operation
Horn blowing continuously - had the brass thingie in backwards.
Conclusions:
The interior of the switch had obvious road-dirt in it - the bike is 12-13 years old, has obviously been in the rain (rain trails inside the switch), butt - the contacts, once cleaned looked FINE, and all wiring was fine (no solder melting).
I seem to remember some other prez's dissecting their failed switches and finding that the soldered connections to the contacts had failed, indicating to me that there was an AWFUL lotta heat - prolly caused by dirty contacts (resistance) heating up enough to melt the solder. The accumulation of road-dirt could cause this sort of high-resistance failure. The switch is NOT well weather sealed (surprise!), and there is no obvious way to seal it - but a seal where on the joint on the top where it attaches to the handgrip would help a LOT (gonna use some sealant on this - real soon now), since most of the rain marks looked like they came down from this joint.
My advice - don't do this in the driveway - and I'll prolly do it on a semi-annual basis. A trick I learned when rebuilding sailboat winches is to do this sorta thing inside a shoebox - the parts then only have one way to jump out (up) so the chances of retaining all of them is much higher - gonna do it this way next time. If you are seeing what appears to be (a) less light out front (b) stiff or notchy operation (c) a dead spot - you MAY be able to rescue your switch before total failure occurs. If not - you need a new one anyway, so nothing ventured nothing gained.
If any prez's have dead switches laying around - I'd be interested in dissecting a few to see what failure modes I find, or hearing from people who have opened up the failed switches. Plus - if you send it to me, I'll have spares for all those little screws/balls/springs that tend to go flying. EMail me for my address if you'd like to donate dead switches to the cause. I'll summarize what I find and post it.


 Headlamp switch repair Thu Oct 16, 2008 2:39 pm


