Alexander McCarthy wrote:P.S, I'm bracing myself for this being a pig of a job, but know I can't sleep until this machine comes alive again.
Not necessarily a
complete pig of a job...all depends on if your various fasteners come off without hassle!
Not sure why Charlie says "drain the transmission"...I've done it on all 3 of my bikes without draining either gearbox or final drive, with the bike on the centre stand...but make sure that the final drive is suitably supported when it is disconnected from the swing arm to ensure that it doesn't flop over and spill oil.
It is a rear wheel off job (but not exhaust muffler), when disconnecting the rear shock, make sure that the final drive is well supported or you may tear the seals on the swing arm, if it is allowed to drop. I seem to recall, it also needs removal of both foot peg mounts (the right hand one with all the rear brake gubbins on it can be unbolted and supported without the need to disconnect any brake lines). It is then down to removing the swing arm pivots...the left hand side is pretty easy, but the right hand one can be a total pig if it hasn't been off for a while and/or wasn't smeared with a little grease when it was last off (nominally held in place with 3 bolts...but often held in place with an unhealthy dose of aluminium oxide which can stick it fast)

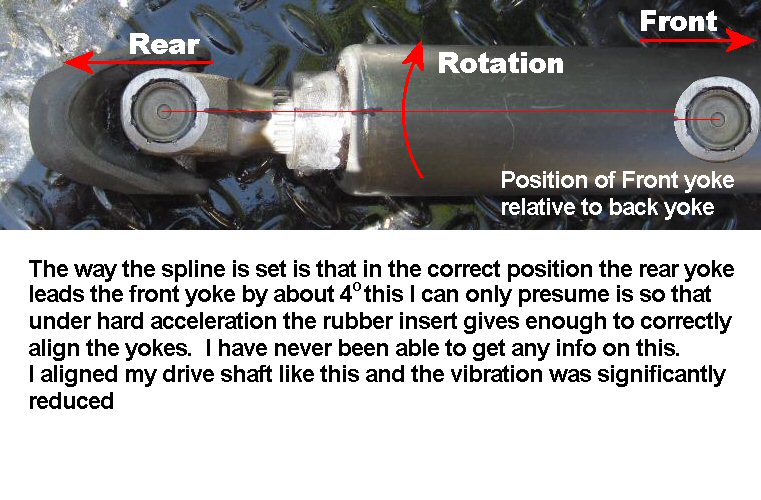
Once the swing arm is removed, you will want to remove the drive shaft - easiest way to release it is to gently place a crowbar against the universal joint and lever, carefully against the gearbox casing (use thin plywood to protect the gearbox surface). A gentle application of pressure on the crow bar will result in the drive shaft popping out of the circlip that retains it at the front end. Others use a little more "percussive" force (FBH) to achieve this, but wielding a FBH can result in denting/bruising the drive shaft. You will also need to remove the battery if you are replacing the GPI switch...the wire routes up under the battery tray.
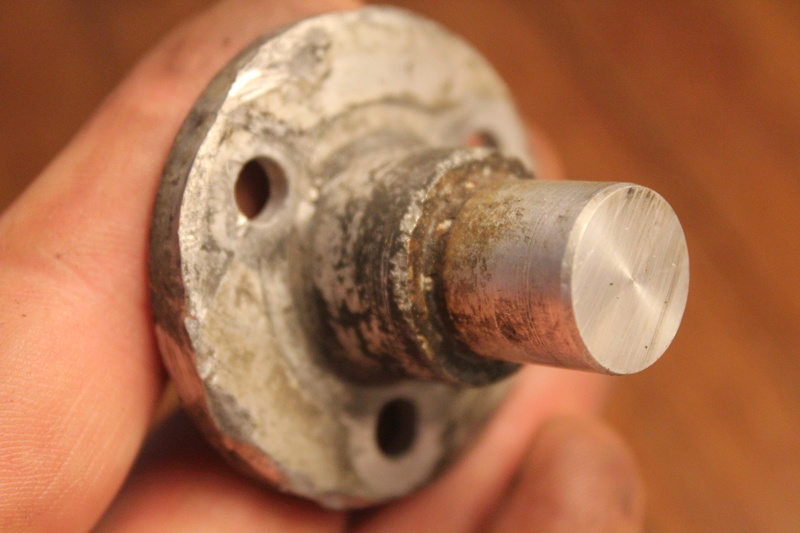
You now have pretty good access to the GPI switch to be able to remove it...noting the comments in previous posts about the 7mm bolts (M4?) - yes, my first attempt resulted in these buggers shearing! The 7mm bolt heads are so close to the body of the GPI switch, I couldn't get a standard size 7mm socket to slot over the heads - I resorted to grinding down my socket to make it thinner...obviously, this makes it much weaker, but the torque generally applied to the size of bolt is pretty low, so it didn't need to be as thick as it was originally made.

If you do have to drill out and go for M5 bolts, then you need to be accurate - it doesn't take much angular misalignment to make the GPI read incorrectly...very frustrating when you've fitted a new GPI switch and didn't test it fully before reassembly!! Also, the stock GPI switch won't take M5 bolts without modification - the switch assembly has brass bushes surrounding its mounting points, which come out easily if you try to drill these holes to 5mm...but the larger holes can add to your re-mounting woes/alignment issues. I discovered this when replacing the GPI on Gretel - the new GPI switch wouldn't take the over size 5mm allen bolts that had been installed by the PO and needed modification. However, it has worked absolutely fine ever since!
All in all (with a fair wind and following sea), the job can be done in about 4 hours...but them thar pesky fasteners can add several more hours and some colourful language to the equation if they don't come out nicely.
It is (surprisingly) a satisfying job to do...and allows all those extra "while I'm in there" jobs like greasing your splines, changing the clutch actuating lever needle bearings, checking/replacing the clutch actuating arm boot etc. If you follow the resealing advice above for the new or repaired GPI switch, you will have the deep satisfaction of not having to do the job again for many years to come (by which time you have forgotten how you did it before).


 K1100LT Gear Position Sensor (GPS) replacement Fri Dec 08, 2017 11:23 pm


