1

 Front Master Cylinder Rebuild 1985 K100RT Mon Feb 25, 2019 12:19 pm
flyinglow
Silver member

On my 1985 K100RT, the front master cylinder began slowly dripping a little brake fluid on the right fairing pocket. My rear master was leaking last year and I rebuilt that, so I guess I should of done the front at the same time.
Repair of Leaky Front Master Cylinder. Remember to take pictures as you go.
First remove the bleed screws on the front calipers and pump the brake lever until all the fluid is pumped out of the master cylinder.
Remove the brake hose from the master cylinder.
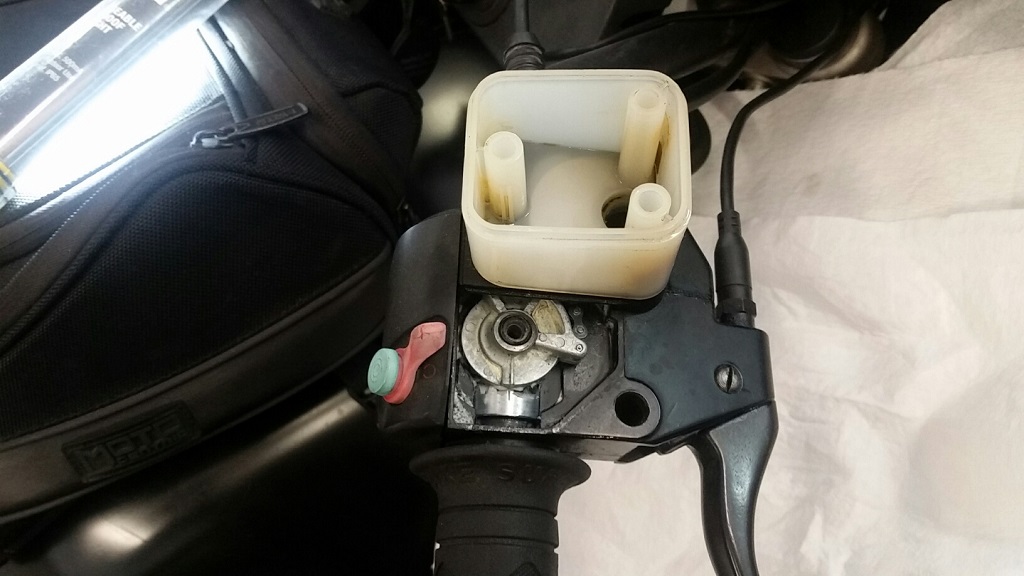
Remove the cover to the master cylinder and, using an absorbent paper rag, clean out any remaining brake fluid.
Remove the one Philips head screw holding the cover to the accelerator cable housing.
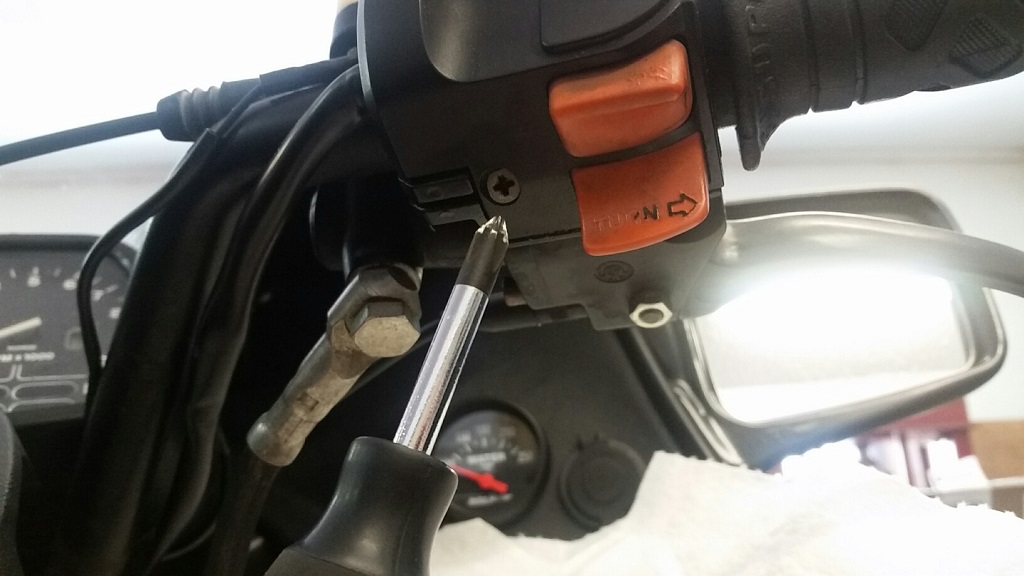
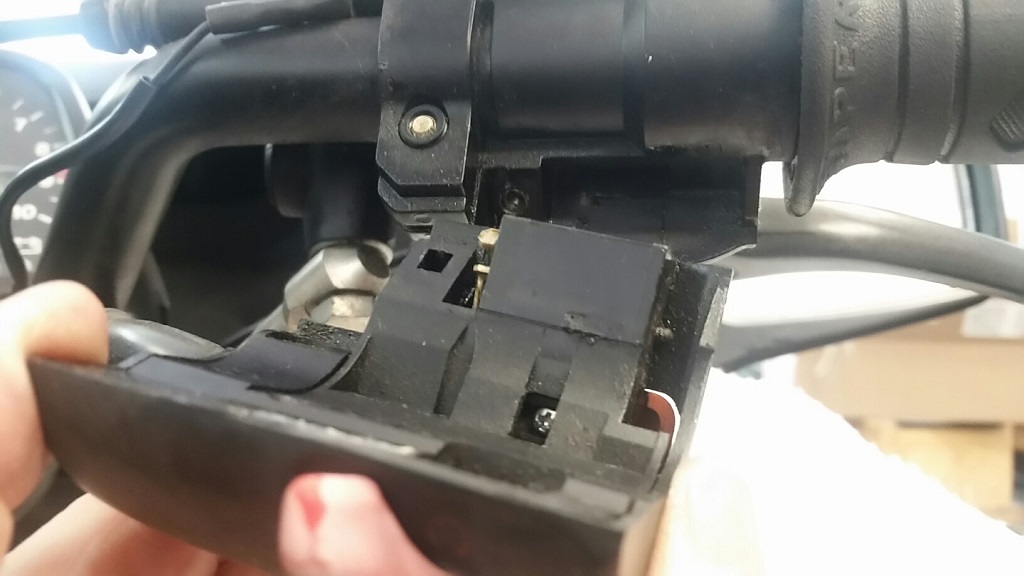
Remove the one Philips head screw holding on the right handle bar switch assembly and pull back the assembly just a little, letting it hang.
Remove the two cap screws holding the master cylinder to the handle bar and lift off the master cylinder.
Remove the plunger assembly by using a cir-clip plier to remove the cir-cli, then the plunger assembly can be pulled out.
Clean all the gunk out of the master cylinder using brake fluid cleaner, cue tips, tooth pics and air gun so it is completely clean both where the plunger assembly goes into the housing and at the brake hose exit.
Clean all the gunk out of the area where the master cylinder assembly is inserted into the handle bar brake assembly. I would not spray brake fluid in this area. I used cue tips and tooth pics only.
Reassemble the piston into the housing liberally coating the assembly with brake fluid. Reaassemble all the remaining parts in reverse order.
Close the bleeder screws, add new Dot 3 fluid and bleed the brake lines until the brake lever has a firm pull.
Parts from Beemer Boneyard, BB 32722302356, 13mm rebuild piston assembly. This includes the two new copper washers for reinstalling the brake line.


