1

 Back Racks and further adventures Fri Jul 01, 2022 1:50 am
jjefferies
Life time member

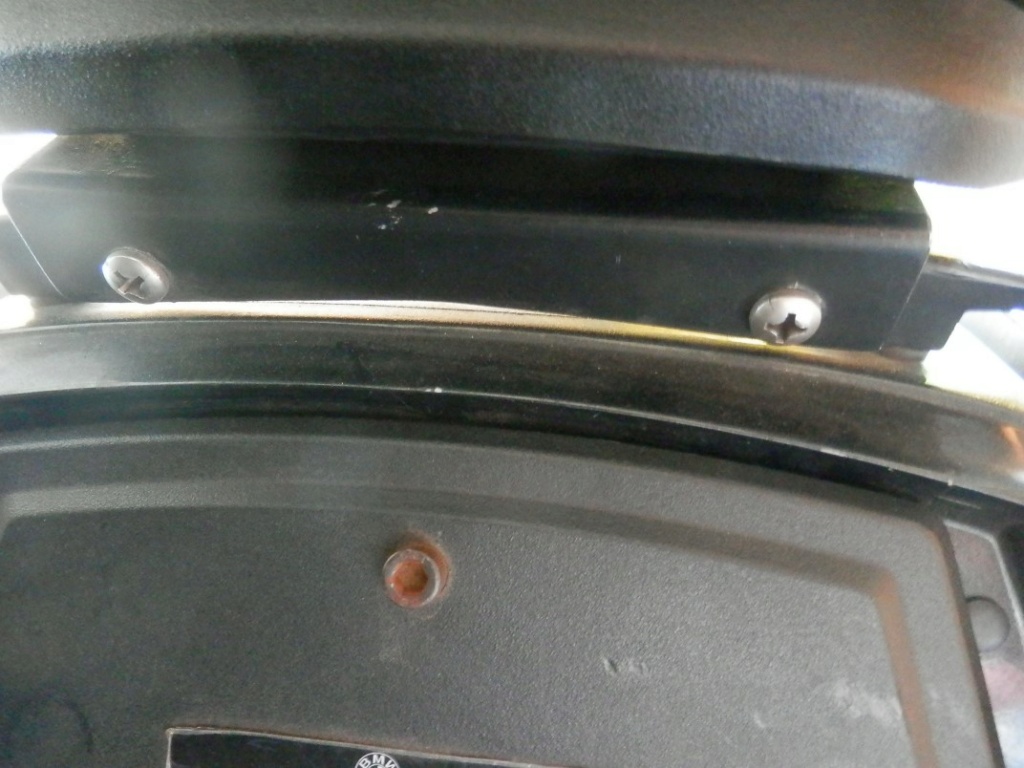
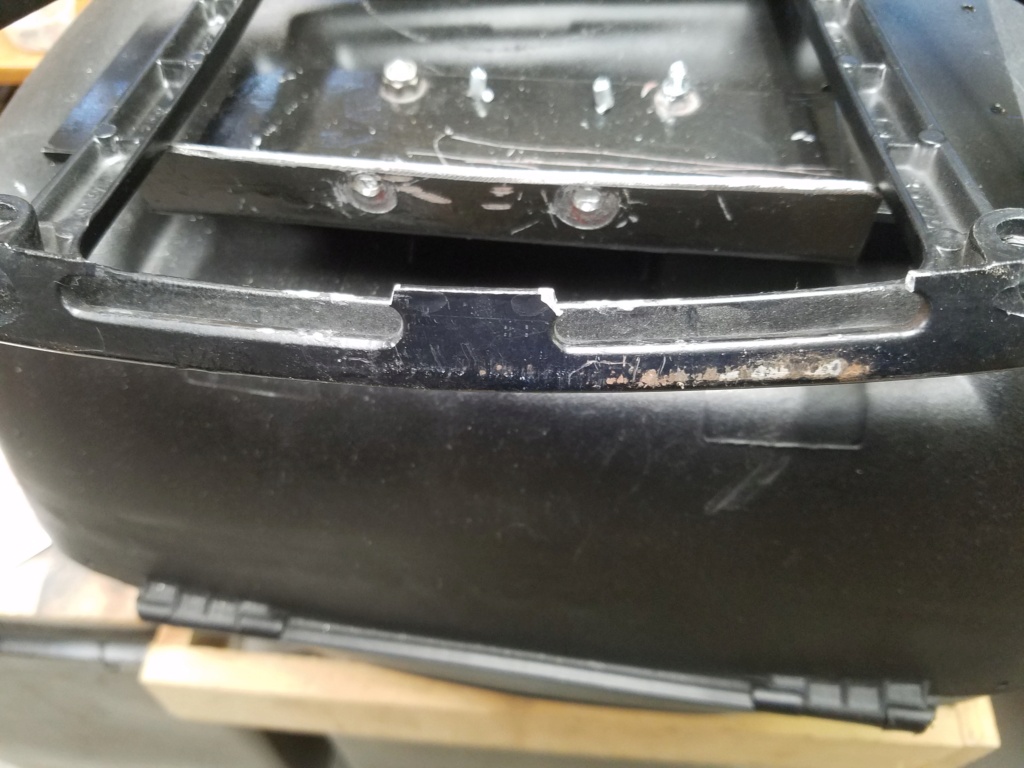
Unfortunately I haven't found a usable back rack mount for the K75/100 on ebay or amazon so I'm contemplating making one. And before I go off and try and re-invent the wheel wanted to ask if anyone has or knows of the plans/diagrams for a back rack. I've got my spare K75 frame out and am looking at using it to rough out how the rack could be mounted. The reason for beginning the project is that my top box mount to the small back rack which often comes with naked K75/100's failed in a most unseemly manner this past Saturday. I'll tell the tale below. But that's my excuse for putting off continuing the rebuild of K100 Blue.
Do screw-ups become adventures if there's enough Adrenalin involved?
It was a long day. Election day for the BMW Club of Northern California. According to our bylaws the election is held at the first general membership meeting after the 49'er Rally, our biggest event of the year. As we are a m/c camping and touring club that means at the June camp-out. For reasons I can only conjecture about it was decided to have the meeting in the Central Valley close to Sacramento. Why is that a problem? It's close enough (2 hour ride) to most of the major urban areas in northern Calif. But the temperature when I arrived - I had wisely decided to not take the group tour and had ridden up by myself - was 107F/41.6C in the sun and 102F/38.8 in the shade (measured). Truthfully I shouldn't have gone as I'm having osteoarthritis of the knees and was suffering a bit. And when the impact of the temperature made itself felt I chose to not camp but ride back home after the election. Just couldn't see sleeping in a tent on an air-mattress in 100 degree temps. So after sitting through the catered meal and election meeting - The current president didn't run fast enough to avoid being dragooned back for another year - I left stopping about 25 minutes down to the road to share a bit of desert with my former mother-in-law.
So I'm riding back to the S.F. Bay area, Alameda to be specific, on the much maligned I-80 and the sun has just dropped behind the hills of the coastal range when I decide I'd best zip up my 'Stitch. The heat had gone with the sun, there was a sea breeze and temps were plummeting. So I pull off onto the shoulder when I hear a very strange noise and looking back there's something laying behind me. My top box had just broken off the back of the bike. Quick examination shows that the ties which held the box in place have failed. In the gathering dark and by my tail light and the headlights of passing autos I replace the box onto the tail piece and move my bungie net to cover it and hold it in place. Now I hadn't been traveling that fast. There had been a couple of autos which passed me. So I hadn't been going much over 80mph. But now I'm limiting my speed to 50 or less as my concern is to nurse the bike and and box home safely. And the road is getting rougher. You know the slow lane is quite often rougher than the fast lanes as the heavier trucks break it up. So I'm riding with one eye on the top box. Slowly I take the road south from I-80 to Walnut Creek and Hwy 24. I've just crossed the Carquinez bridge and getting toward Walnut Creek when I hear another noise, look in the rear view mirror and see my gear bags scattering across the Freeway. I pull over and check to find my left saddle bag is wide open with one bag still in it. Leaving the bike running I walk back up the Freeway to see what can be reclaimed. I "THINK" I got everything though scratched and maybe a little run over. The saddle bag had apparently decided to pop open as the bag holding my tent and air mattress which had been covered by the bungee net was tied to the handles and maybe the latch wasn't as good as it should be. Looking around to find a way to hold both saddle bags, tent bag and top box on the bike I found two of the hard rubber bungee cords truckers like to use lying near by along with wire and rope. Of course they had been run over a few times and the wire hooks were closed. But with usual biker ingenuity I use them to tie everything back on. Now to crawl home at the slowest speed possible that freeway riding will permit. Seriously most cars were traveling between 75-85 mph. So I make it another 10 miles or so when I for some unknown reason glance in the rear view mirror to see the top box bouncing on the freeway behind me and rolling off to the edge of the road. So once again I go and retrieve it. Three times trying to tie it on is too much. So I take the box, still whole, and hide it in some weeds by the highway. My GPS is showing that I'm 24 minutes from home and there don't appear to be any homeless encampments nearby. So it should be safe for an hour or so. Looking around I spot a lit up sign for "Hyatt House" just beyond the entry that I used to hide the box. So I make the ride home in 24 minutes, refresh and relieve myself, jump in the car and head back to reclaim the top box. All's well.... maybe. The top box has some serious scratches that I may leave alone as reminder.
Apologies for the long post. But that's the reason for seriously needing to redo the mounting of the box in a more sturdy manner.


