1

 Cleaning Fuel Injectors Thu Dec 29, 2011 8:35 am
Albyalbatross1
Life time member

Its been a busy arvo here in the "HesmadLab".
On our Tuesday ride I was handed some injectors for Blakey by K-Freak. "they wont fire, but you might be able to" so i took up the challenge. I read up on how the injectors work and set about trying to free em up.
I first Numbered the injectors and checked the coils and they all measured in at 16 ohms. Good.
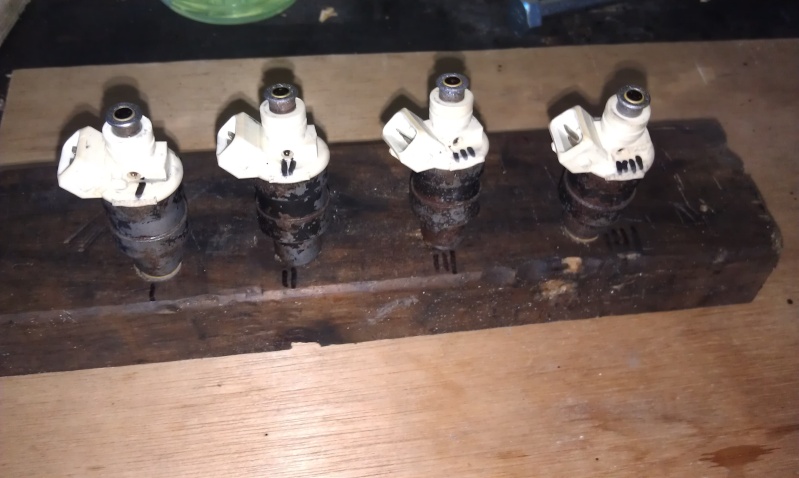
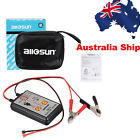
Next i hooked up my trusty power supply and tried to fire em. Nothing, Notta, zilch>>>>>
So I fired up my super youbeat ultrasonic cleaner and gave them a short bath.

After the first short bath i tested each injector and one actuated. set this one aside and put the rest back in the bath and continued with testing and ultrasonics untill they all actuated.
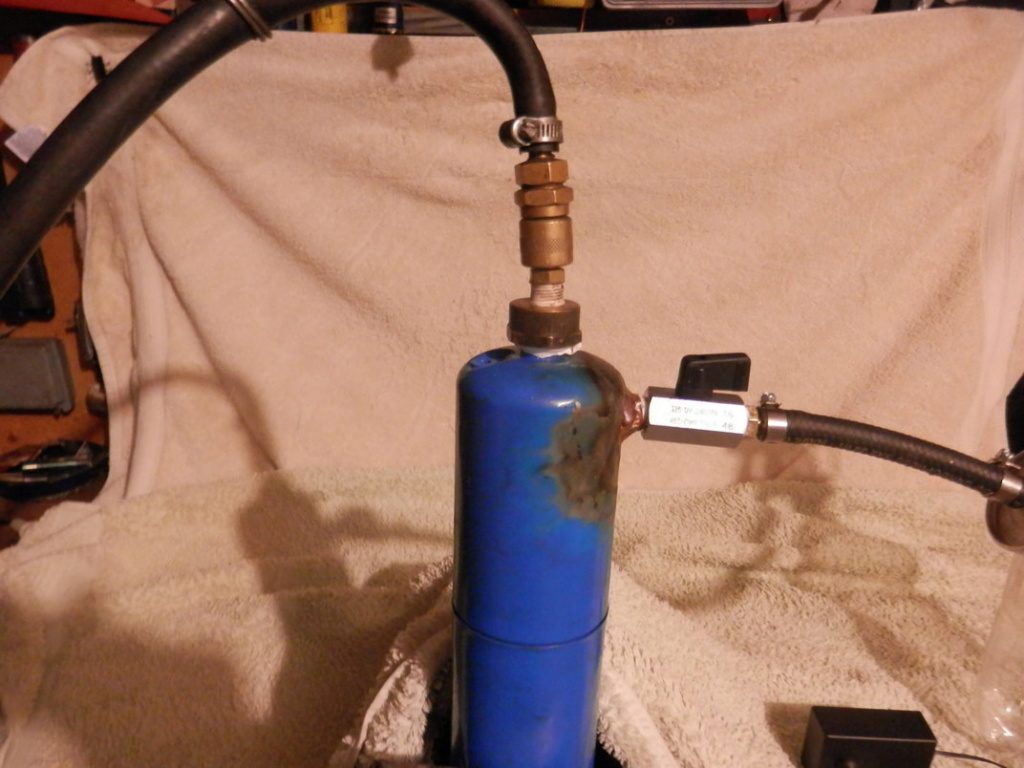
Now a brief trip to youtube to see how people were cleaning the gunk out from the insides. Here is what I found. Use a can of carby cleaner, short lenght of fuel hose and 30ml syringe.
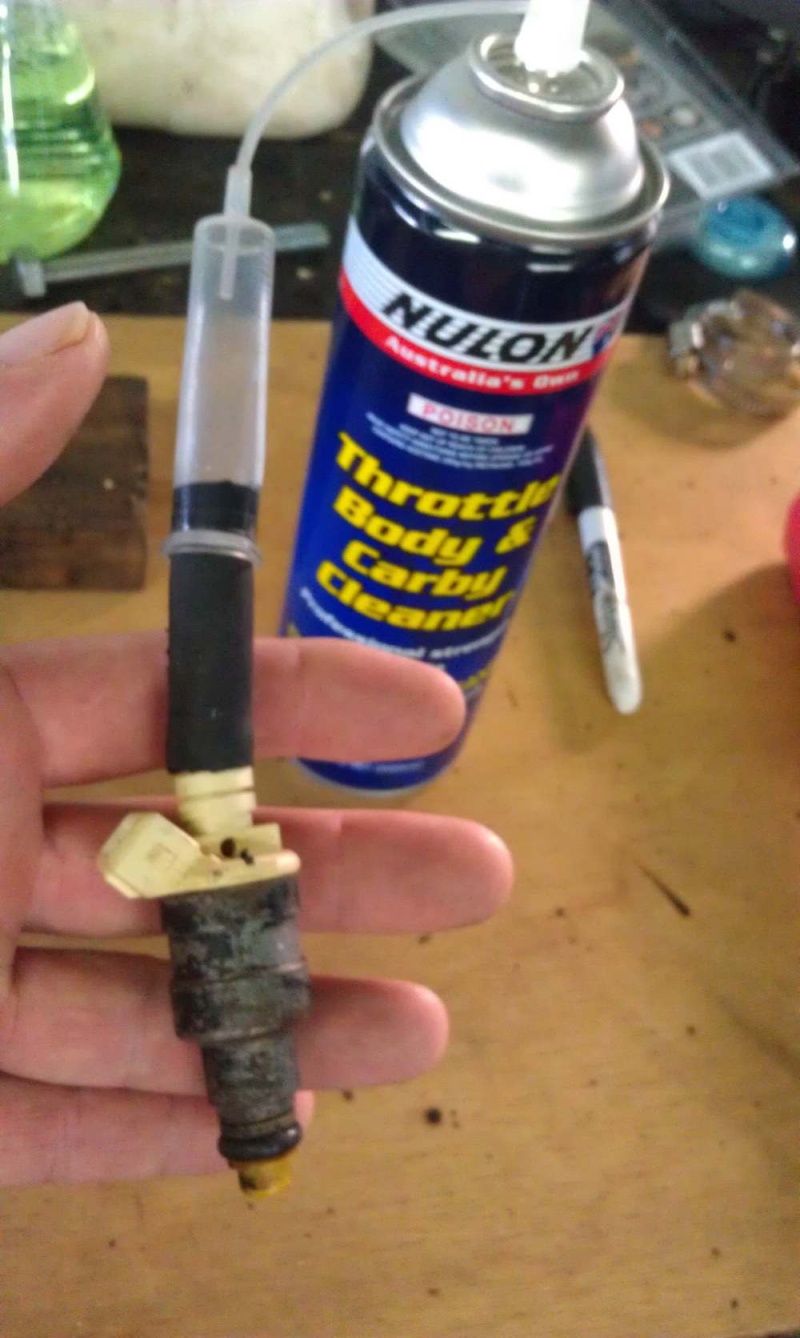
I set up the first injector and pressurised the cleaner and powered up..
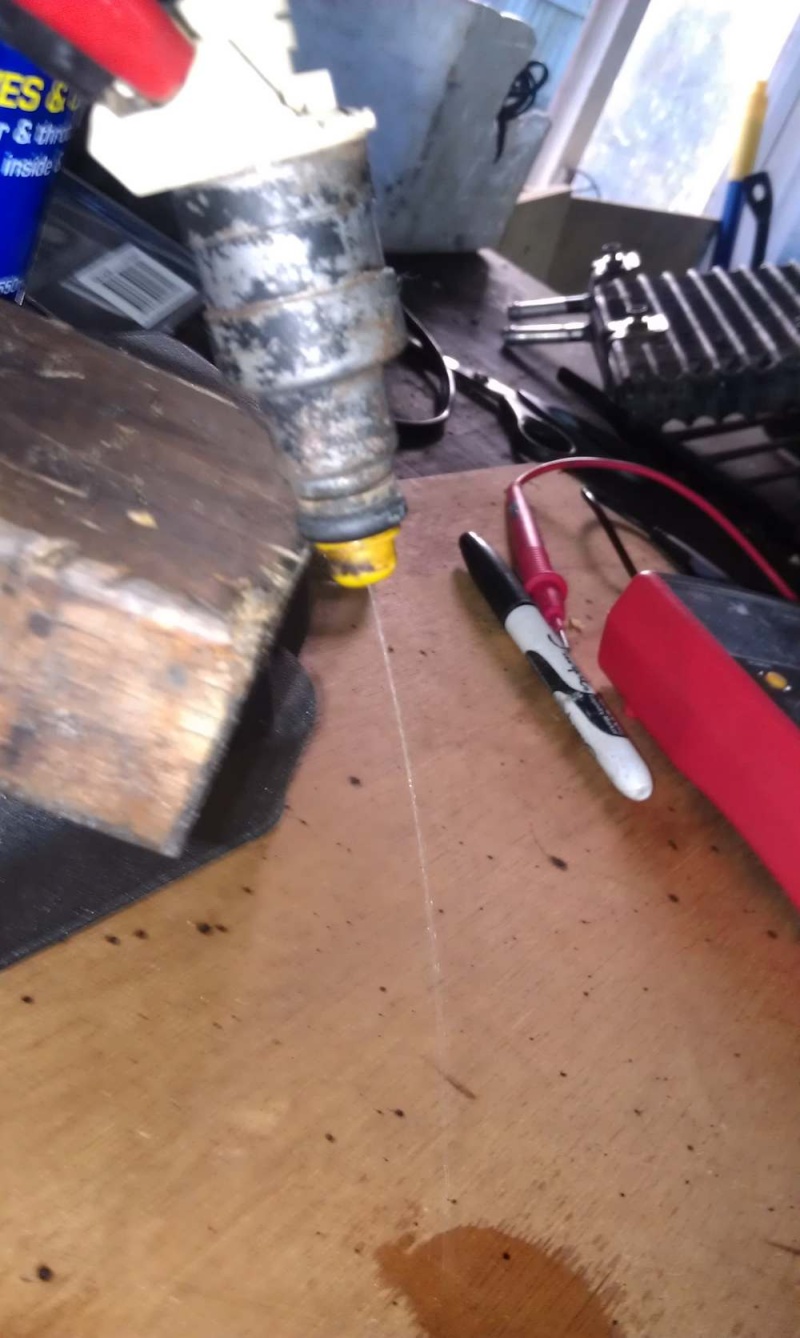
Not the best. So gave it a few more after lewtting it stand with cleaner in the injector and ...
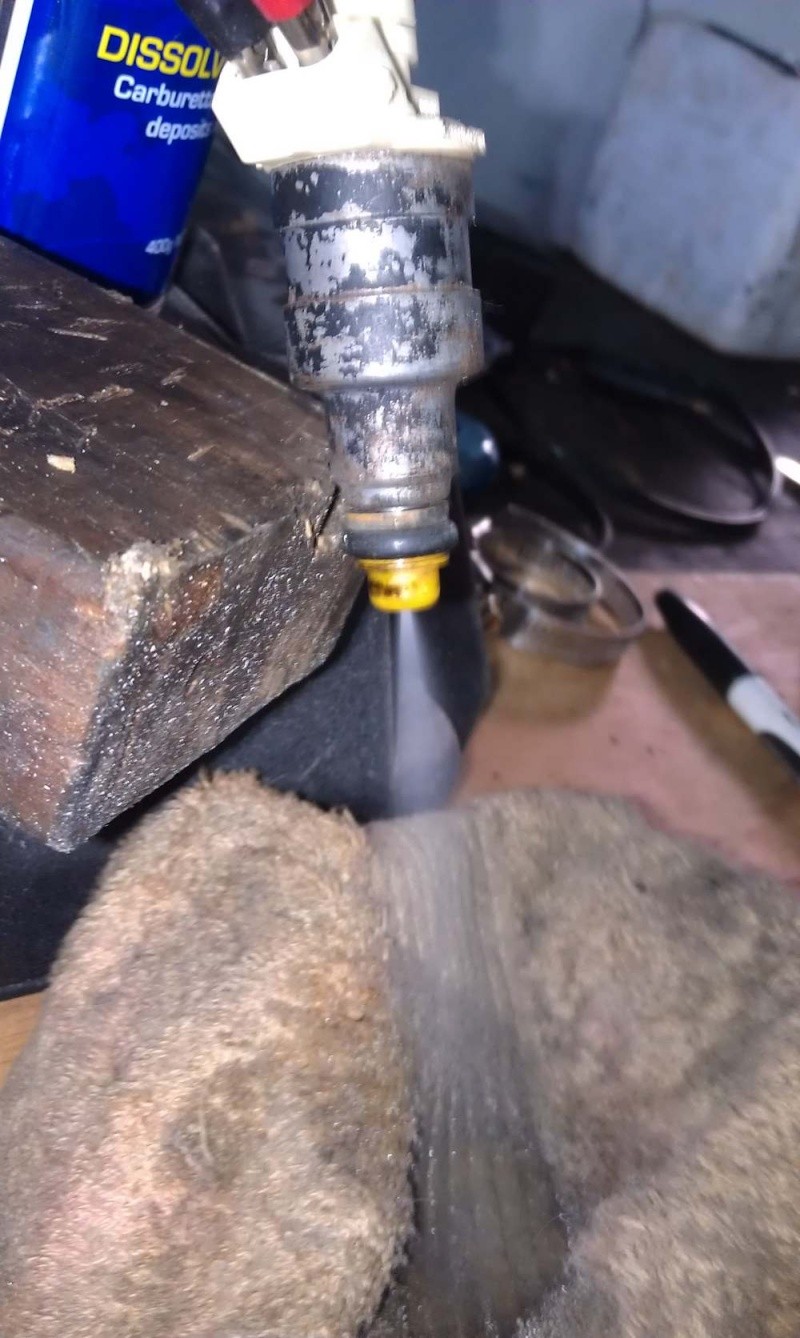
Out came a splutter then whoosh!!!
Nice round pattern on bench top..

So now all they need is some new filters/caps/o-rings ect as they are all working nicely on the bench. I am more and more impressed with ultrasonics as a mediem for cleaning small tight places. (thanks OG!!) So if you are coming up on the 7th bring those pieces to clean as I have a fresh bath of cleaner.
On our Tuesday ride I was handed some injectors for Blakey by K-Freak. "they wont fire, but you might be able to" so i took up the challenge. I read up on how the injectors work and set about trying to free em up.
I first Numbered the injectors and checked the coils and they all measured in at 16 ohms. Good.

Next i hooked up my trusty power supply and tried to fire em. Nothing, Notta, zilch>>>>>
So I fired up my super youbeat ultrasonic cleaner and gave them a short bath.

After the first short bath i tested each injector and one actuated. set this one aside and put the rest back in the bath and continued with testing and ultrasonics untill they all actuated.
Now a brief trip to youtube to see how people were cleaning the gunk out from the insides. Here is what I found. Use a can of carby cleaner, short lenght of fuel hose and 30ml syringe.

I set up the first injector and pressurised the cleaner and powered up..

Not the best. So gave it a few more after lewtting it stand with cleaner in the injector and ...

Out came a splutter then whoosh!!!
Nice round pattern on bench top..

So now all they need is some new filters/caps/o-rings ect as they are all working nicely on the bench. I am more and more impressed with ultrasonics as a mediem for cleaning small tight places. (thanks OG!!) So if you are coming up on the 7th bring those pieces to clean as I have a fresh bath of cleaner.


