1

 K100 restoration cafe-racer style Sat Jan 18, 2014 3:07 pm
Cossie
active member

Having spent many months looking for a project I recently purchased a K100 RT that needs work. (Built 10-1984)
The seller had inherited it as an incomplete rebuild. It was not running and it was not clear what parts were missing . The price was good so i took a chance.
What i brought home.
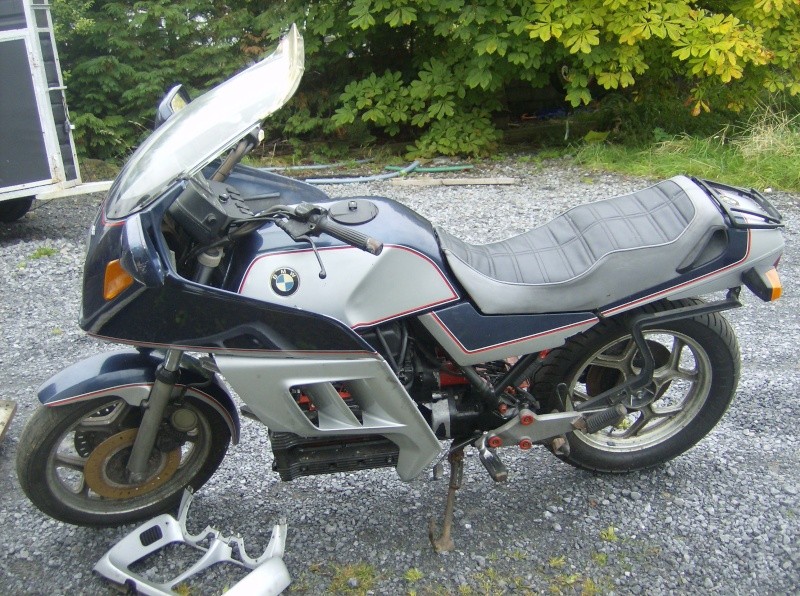
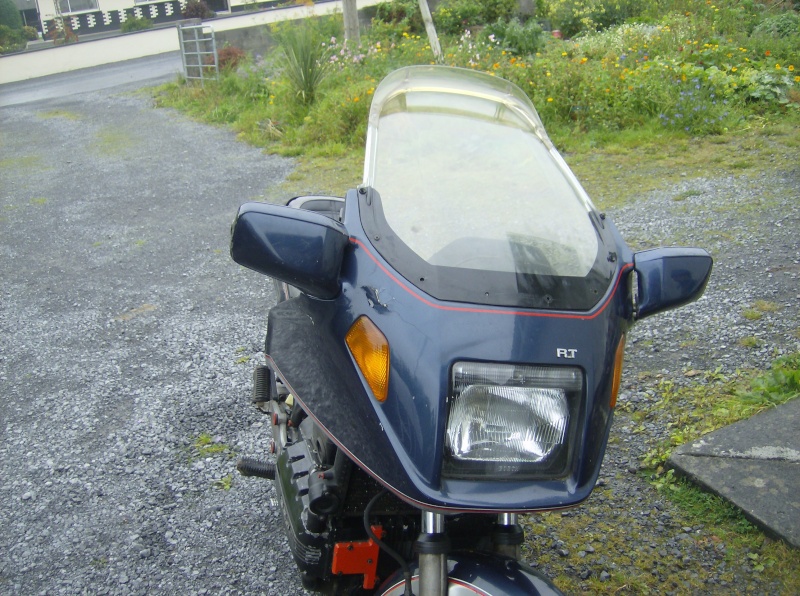
I sourced the following missing bits from a local breakers
Injectors
Cam cover bolts
HT leads
HT coil
I checked the torque on big end bearing and main bearing bolts and they were OK (it was not clear what had been taken apart , what had been put together properly and what had been hastily reassembled by the PO when moving the bike)
I removed spark plugs plugs, squirted oil into the cylinders and onto crank bearings. Left it for a while then pushed the bike in gear and the engine rotated OK.
I dumped the fuel that was in the petrol tank and rinsed it a few times with fresh petrol then put more fresh petrol in. Oil and water in the engine. Oil in gearbox and final drive.
From what i have read when starting an engine that has been sitting a long time the important thing is to get it running as promptly as possible to get oil circulating under pressure.
So i tested the injectors separately with a 9V battery and a syringe of alcohol and the all looked good.
I hooked up a battery and turned the engine over with plugs out and was getting a good spark. Also oil pressure light went out which was reassuring.
Time to go for it.
Connected everything up pressed start and with in less than 10 secs it fired. A few more goes and it was running. Result! It sounded nice and smooth too. There was an awful lot of smoke and a knock that on first guess sounded like a big end bearing, but it was running.
I left it running for for about 40 mins until the fan cut in.
I started and ran it a few more times and over time the smoke disappeared. (the knock did not)
I also carried out a compression test and all 4 cylinders were good.
At that stage I was able to say that the engine was worth stripping down to refurbish.
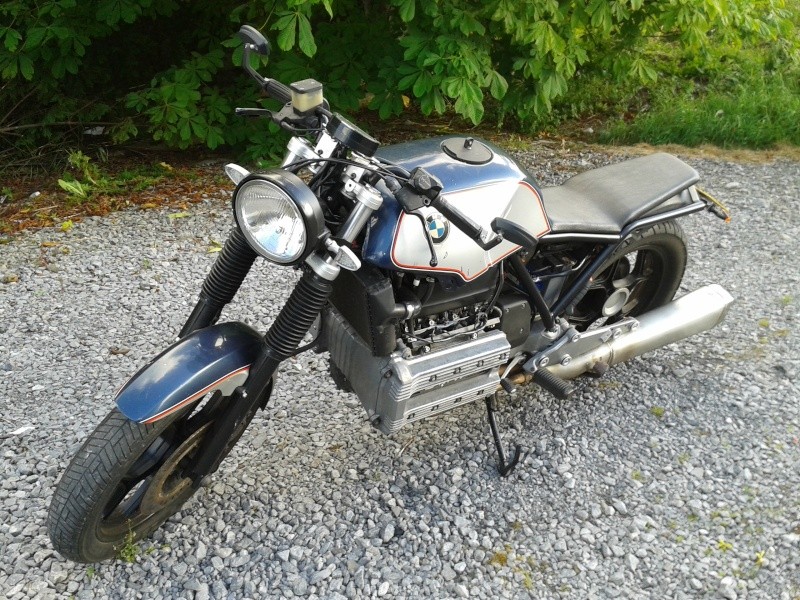
Initially the plan was a cafe racer style rebuild. This is what i had been looking at
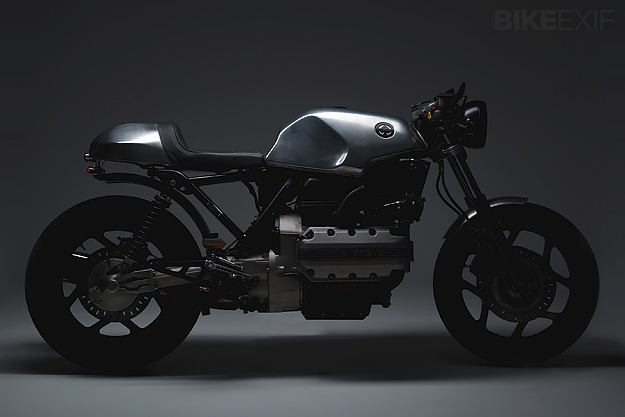
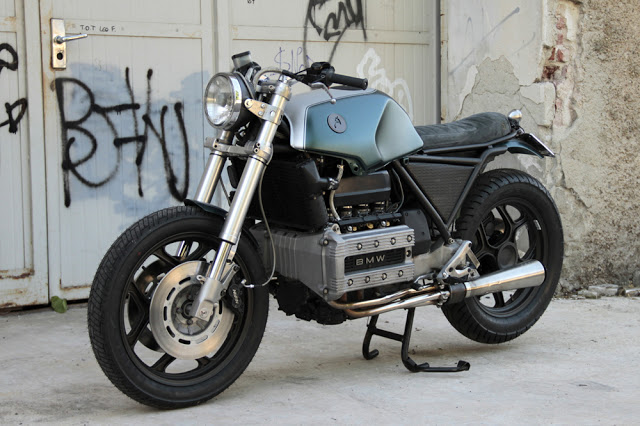

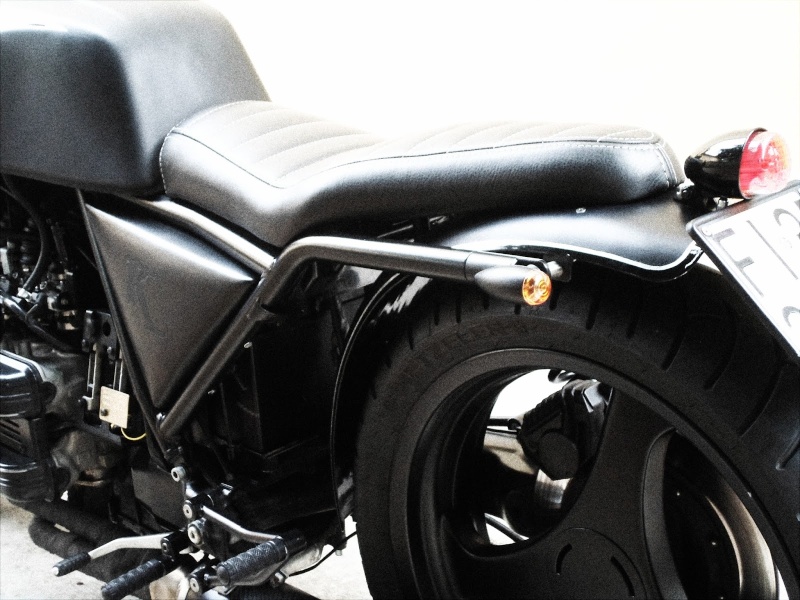
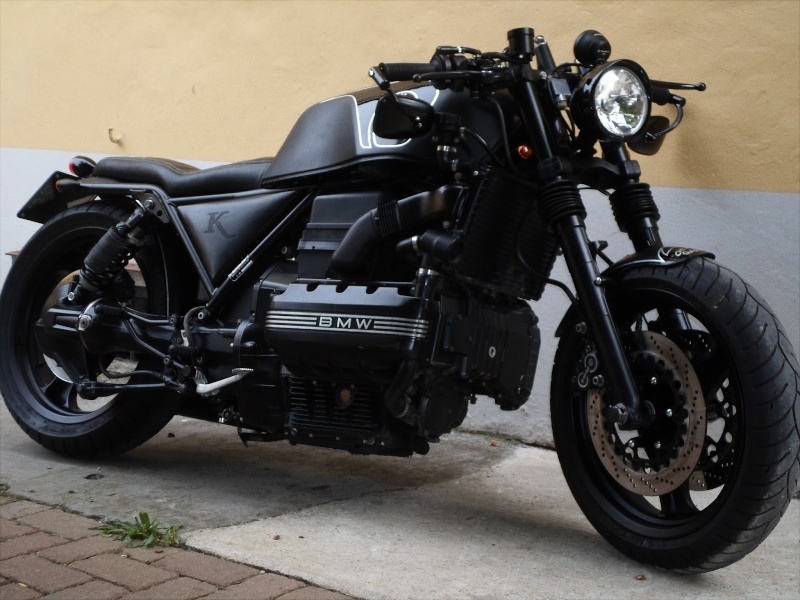
However when i got the bike it looked really good as original so i carried out a few trials to lower the original seat. No matter what i did i was not comfortable sitting on the bike at a stop. The seat is just too wide and too high for me (I am not tall) so back to original plan .
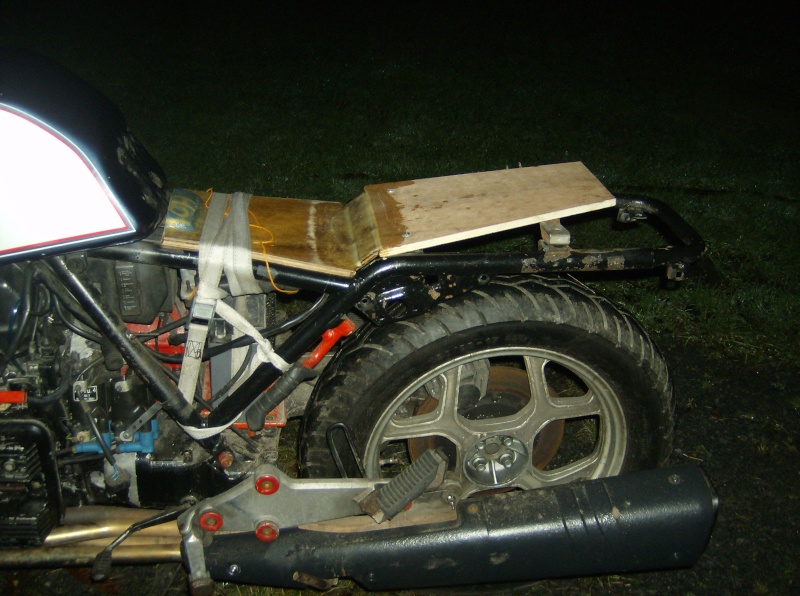
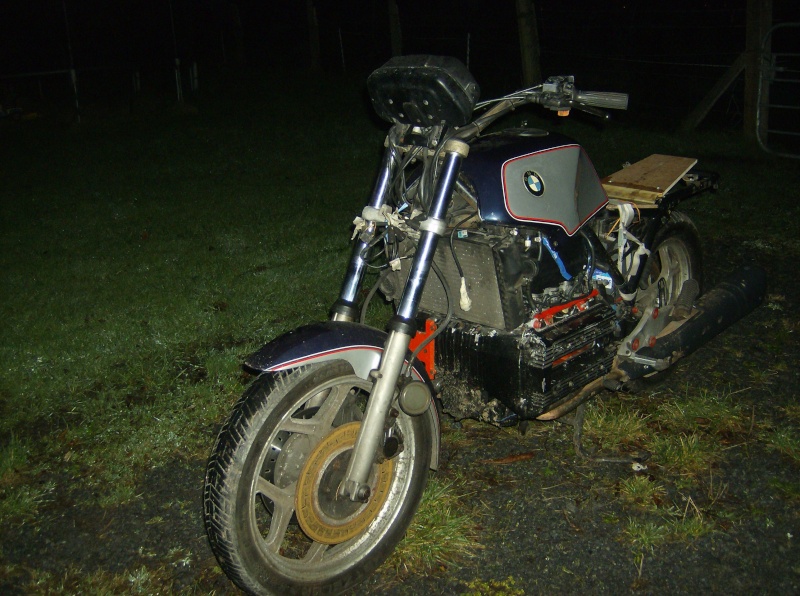
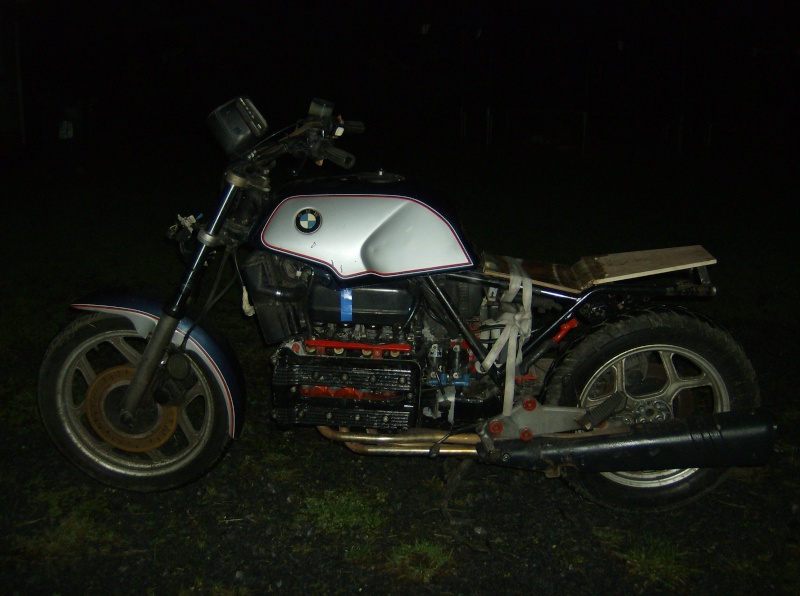
I mocked up a few seats in cardboard and when i had one i liked i did a prototype in plywood.
I put this on the bike and with a new battery fitted i took it for a spin up and down the lane (about a mile) This allowed me to test operation of the clutch and gearbox (all good). It was only a 10 minute spin on the bike but i could not stop grinning all evening.
After the first "Road Trip"
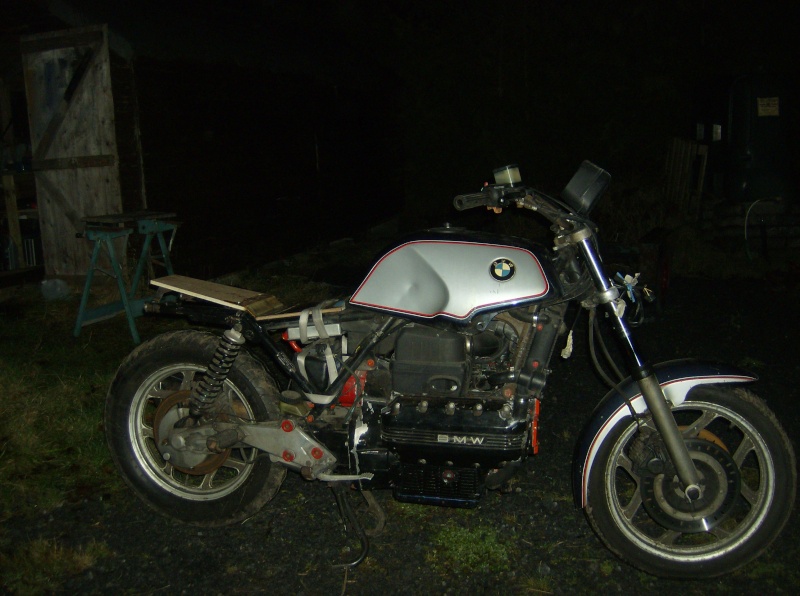
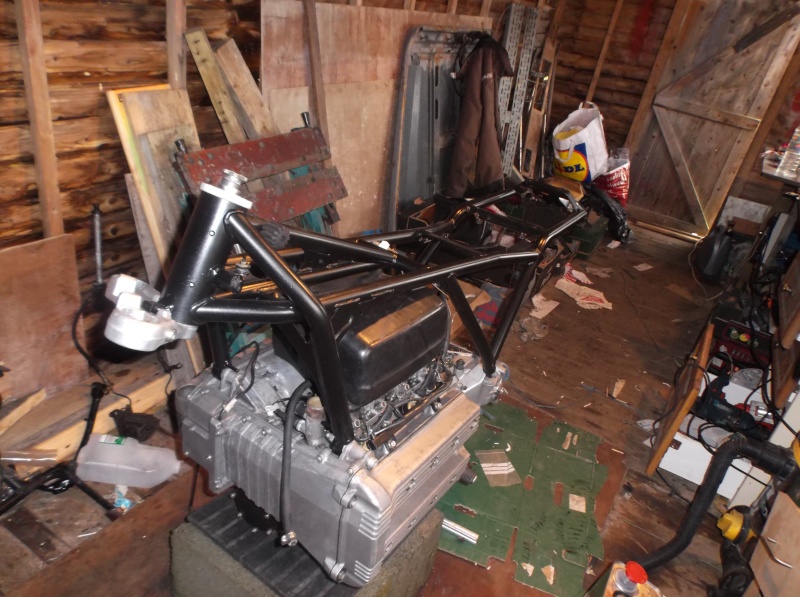
First the mods to frame
Shorten rear overhang and fabricate new cross brace/Lights and seat support. Two new blanking plugs for rear of frame bonded in with epoxy. New fuel tank mounting cross piece. Remove redundant brackets from frame.
Then dismantle bike as per Bert's excellent article.
Frame ready to be sent for blasting and priming.
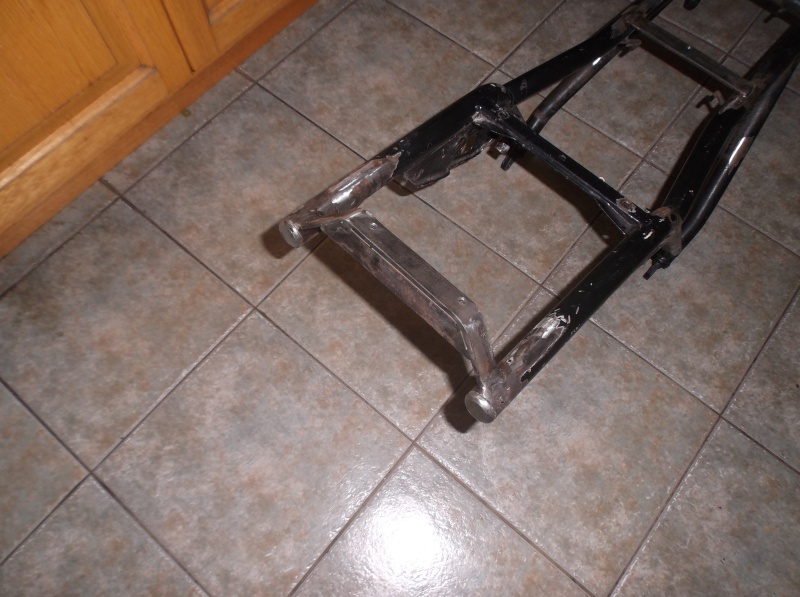
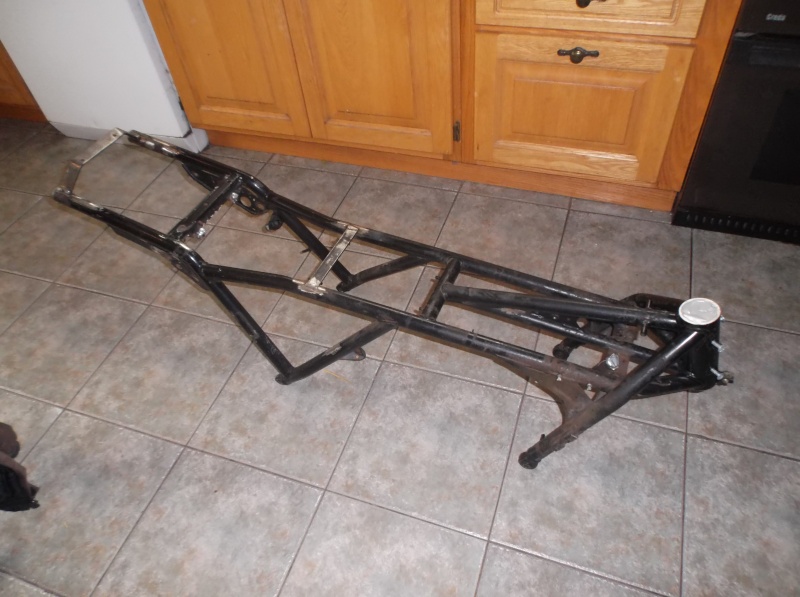
Frame back after blasting and etch primer
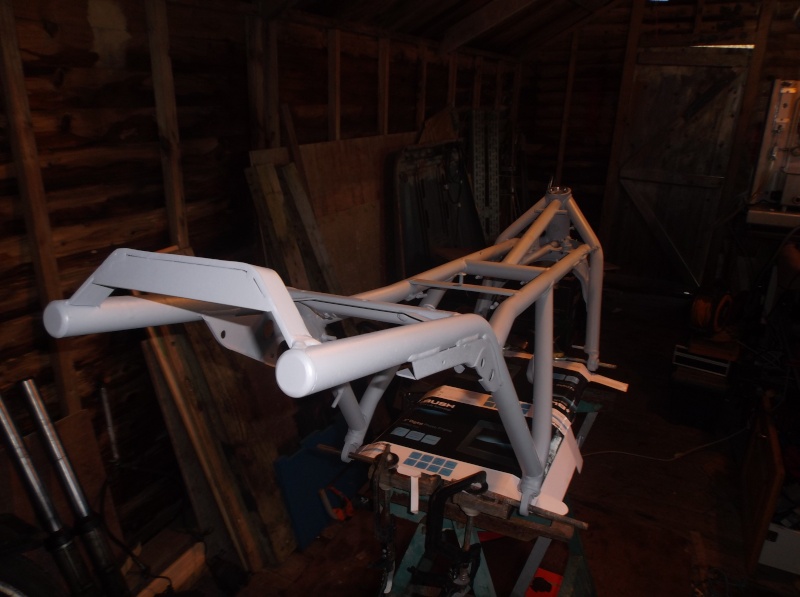
Next I applied 3 coats of rattle-can Simoniz acrylic satin black
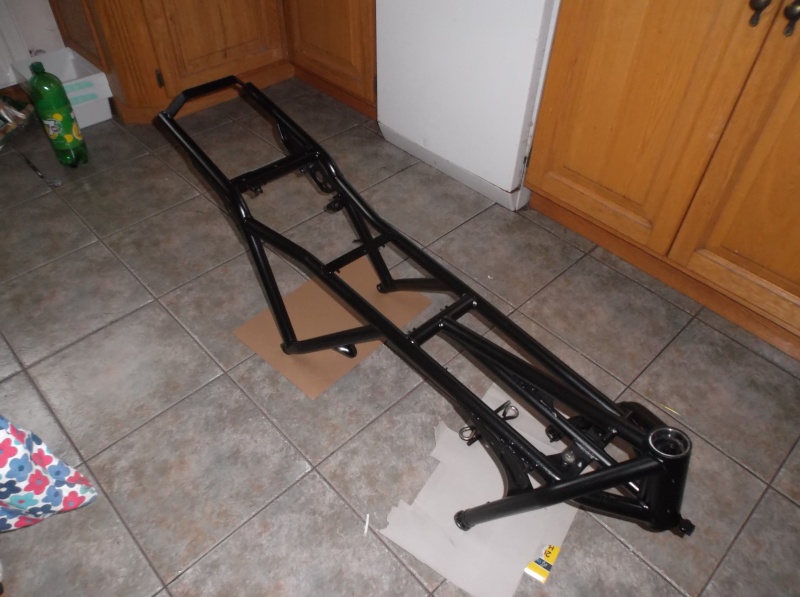
Its not perfect but the satin is fairly forgiving and i think it looks well. Its should allow for easy touch up if and when need in later life. As long as it is durable and does not start to rust i will be happy. Time will tell.
That's all for now.
The seller had inherited it as an incomplete rebuild. It was not running and it was not clear what parts were missing . The price was good so i took a chance.
What i brought home.


I sourced the following missing bits from a local breakers
Injectors
Cam cover bolts
HT leads
HT coil
I checked the torque on big end bearing and main bearing bolts and they were OK (it was not clear what had been taken apart , what had been put together properly and what had been hastily reassembled by the PO when moving the bike)
I removed spark plugs plugs, squirted oil into the cylinders and onto crank bearings. Left it for a while then pushed the bike in gear and the engine rotated OK.
I dumped the fuel that was in the petrol tank and rinsed it a few times with fresh petrol then put more fresh petrol in. Oil and water in the engine. Oil in gearbox and final drive.
From what i have read when starting an engine that has been sitting a long time the important thing is to get it running as promptly as possible to get oil circulating under pressure.
So i tested the injectors separately with a 9V battery and a syringe of alcohol and the all looked good.
I hooked up a battery and turned the engine over with plugs out and was getting a good spark. Also oil pressure light went out which was reassuring.
Time to go for it.
Connected everything up pressed start and with in less than 10 secs it fired. A few more goes and it was running. Result! It sounded nice and smooth too. There was an awful lot of smoke and a knock that on first guess sounded like a big end bearing, but it was running.
I left it running for for about 40 mins until the fan cut in.
I started and ran it a few more times and over time the smoke disappeared. (the knock did not)
I also carried out a compression test and all 4 cylinders were good.
At that stage I was able to say that the engine was worth stripping down to refurbish.
Initially the plan was a cafe racer style rebuild. This is what i had been looking at


However when i got the bike it looked really good as original so i carried out a few trials to lower the original seat. No matter what i did i was not comfortable sitting on the bike at a stop. The seat is just too wide and too high for me (I am not tall) so back to original plan .
I mocked up a few seats in cardboard and when i had one i liked i did a prototype in plywood.
I put this on the bike and with a new battery fitted i took it for a spin up and down the lane (about a mile) This allowed me to test operation of the clutch and gearbox (all good). It was only a 10 minute spin on the bike but i could not stop grinning all evening.
After the first "Road Trip"


First the mods to frame
Shorten rear overhang and fabricate new cross brace/Lights and seat support. Two new blanking plugs for rear of frame bonded in with epoxy. New fuel tank mounting cross piece. Remove redundant brackets from frame.
Then dismantle bike as per Bert's excellent article.
Frame ready to be sent for blasting and priming.


Frame back after blasting and etch primer

Next I applied 3 coats of rattle-can Simoniz acrylic satin black

Its not perfect but the satin is fairly forgiving and i think it looks well. Its should allow for easy touch up if and when need in later life. As long as it is durable and does not start to rust i will be happy. Time will tell.
That's all for now.
Last edited by Cossie on Sat Feb 08, 2014 3:02 pm; edited 4 times in total (Reason for editing : Inserting pics instead of links)


 Ich bin enge Kirchröatsjer jong; adieë wa ?!
